Most modelers apply static grass to their layouts in a similar manner: create a relatively smooth base, paint it, and while the paint is still wet, apply the grass. This often results in an area of grass that looks too uniform. To break up the uniformity, many modelers will either apply more grass on top of the first layer (called “stacking”), use stretched pillow fiber to create different levels of height and variation, or simply spread different types of ground foam.
I followed this approach as well, but recently I discovered a much easier way to create variation—one that results in much more depth and realism.
I had a small area of ground next to the track that needed to be elevated. After sculpting some foam to form a berm and gluing it in place, I mixed up some Sculptamold and applied it rather haphazardly over the foam. The best way to describe the finished surface is “lumpy.” After it dried, I painted it a dark brown color and then applied a mixture of static grass.
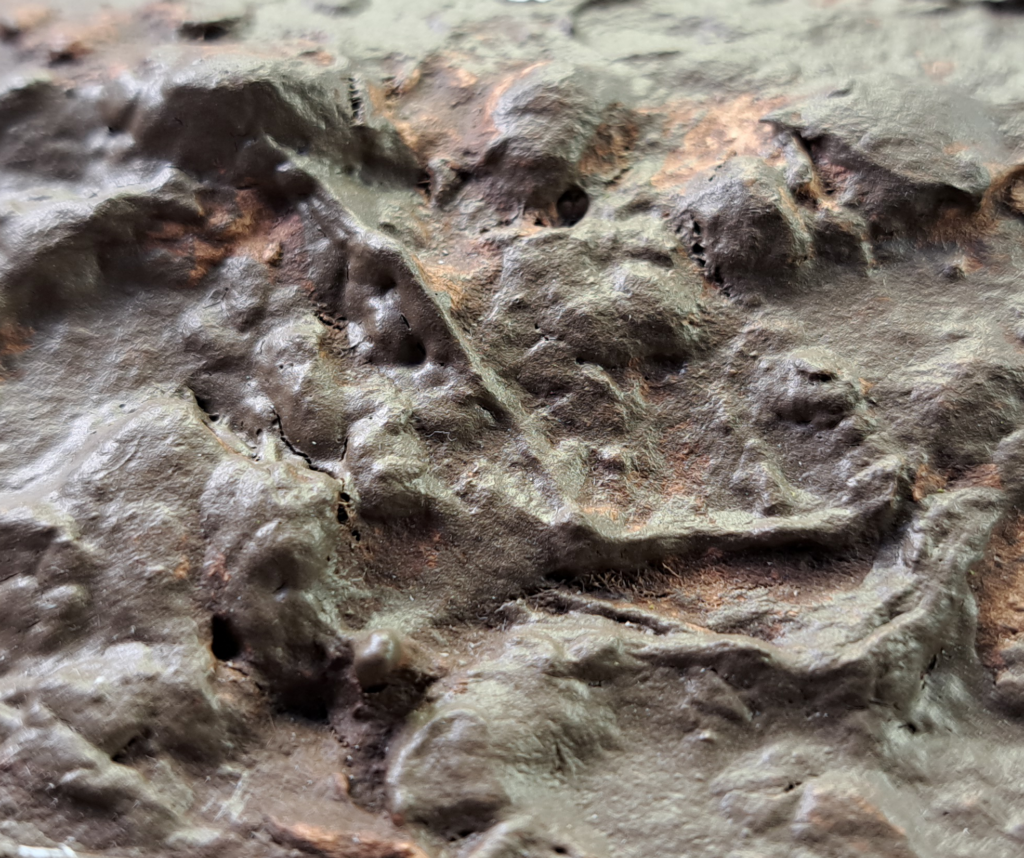
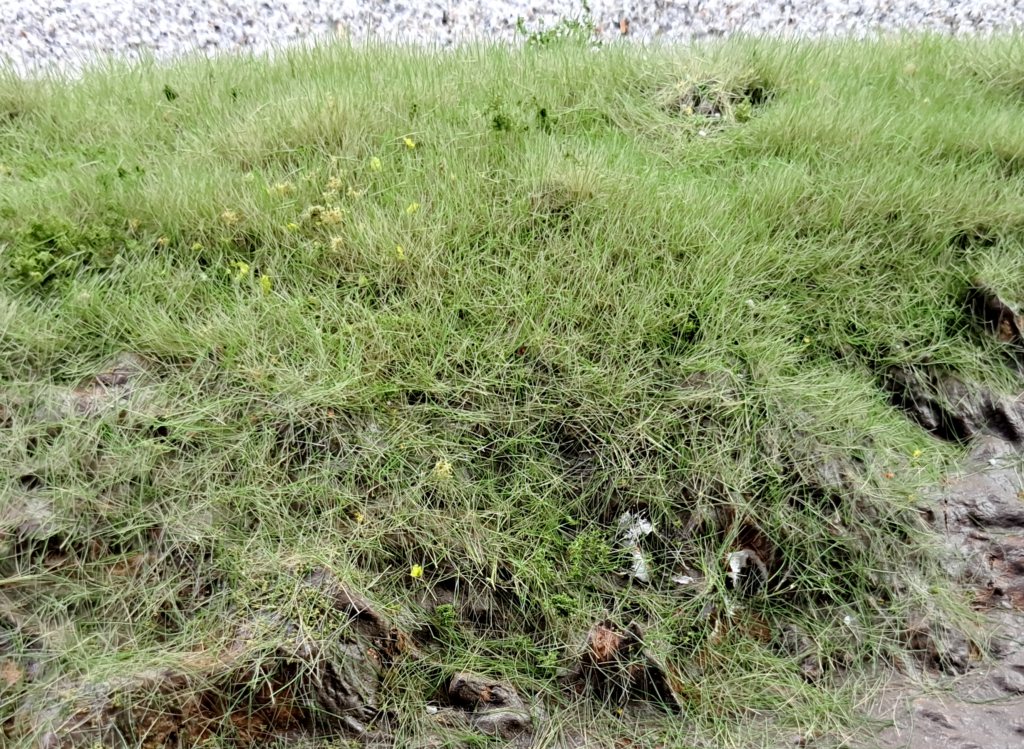
To my surprise, once the grass was in place, it looked much more like real field grass than my previous efforts. The reason was obvious: varying the surface texture made the grass undulate, creating the impression of different growth rates. This was a revelation to me. Now I can plan different variations in my field grasses during the Sculptamold stage. If you don’t want to add a top texture, you can easily carve the variation directly into a foam base.
In the photo above, the variation may be difficult to see, but I can assure you it is quite apparent when viewed in person.
In addition to discovering a more realistic way to create grass-covered fields, I also found that applying a layer of blended turf and letting it dry before applying the grass gives the scene more realism by simulating underlying thatch. The photo below shows healthier thatch, but you can add drier-looking turf for older, post-winter thatch.

