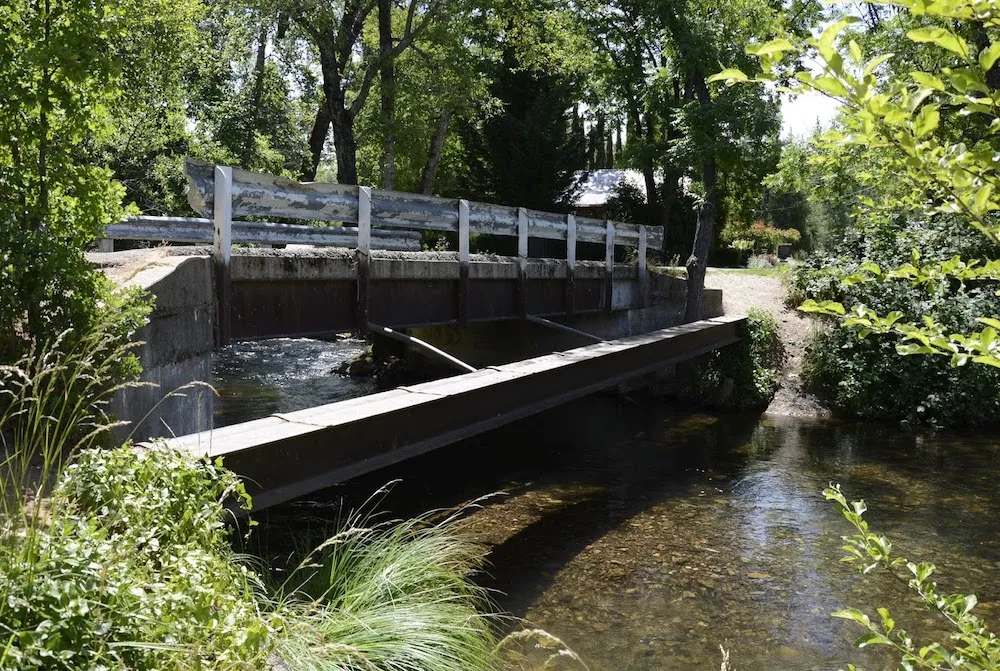
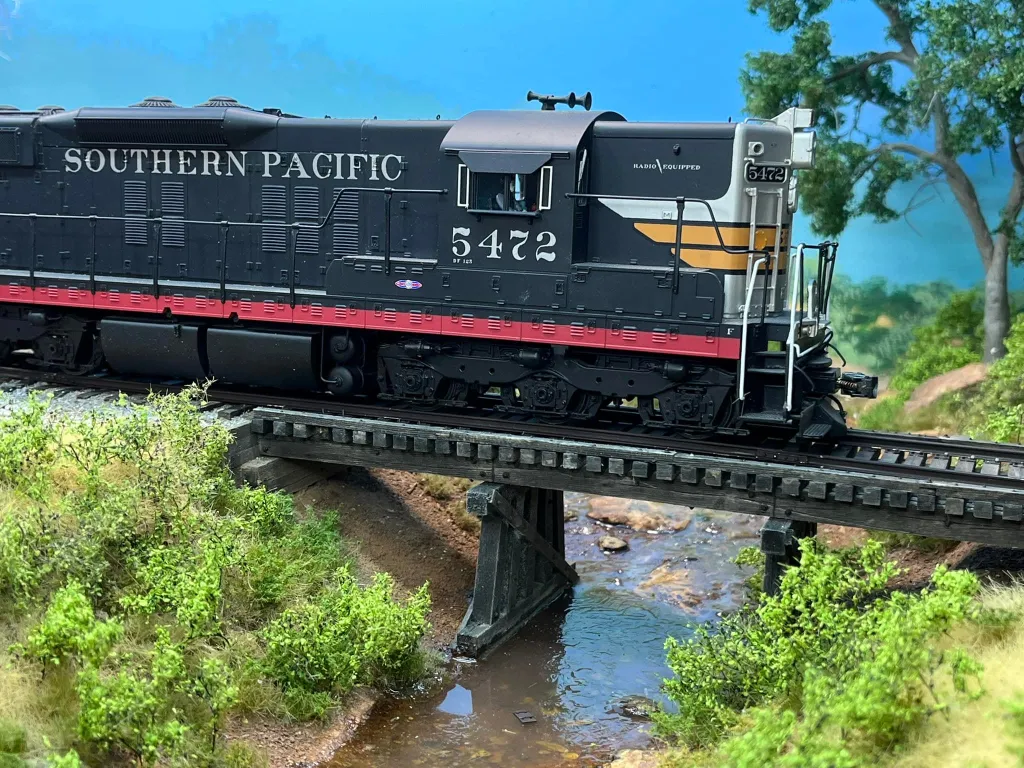
One of the highlights of my Sierra Pacific Railroad is Angels Creek and the trestle crossing on the railroad’s main line. Although the railroad is freelanced and headquartered in Angels Camp, CA., I am trying to incorporate many actual scenes and details in and around the location to make the layout seem prototypical. Also, having grown up in the area, it reminds me of my childhood and all the rich history in the area.
Preparing the Creek Bed
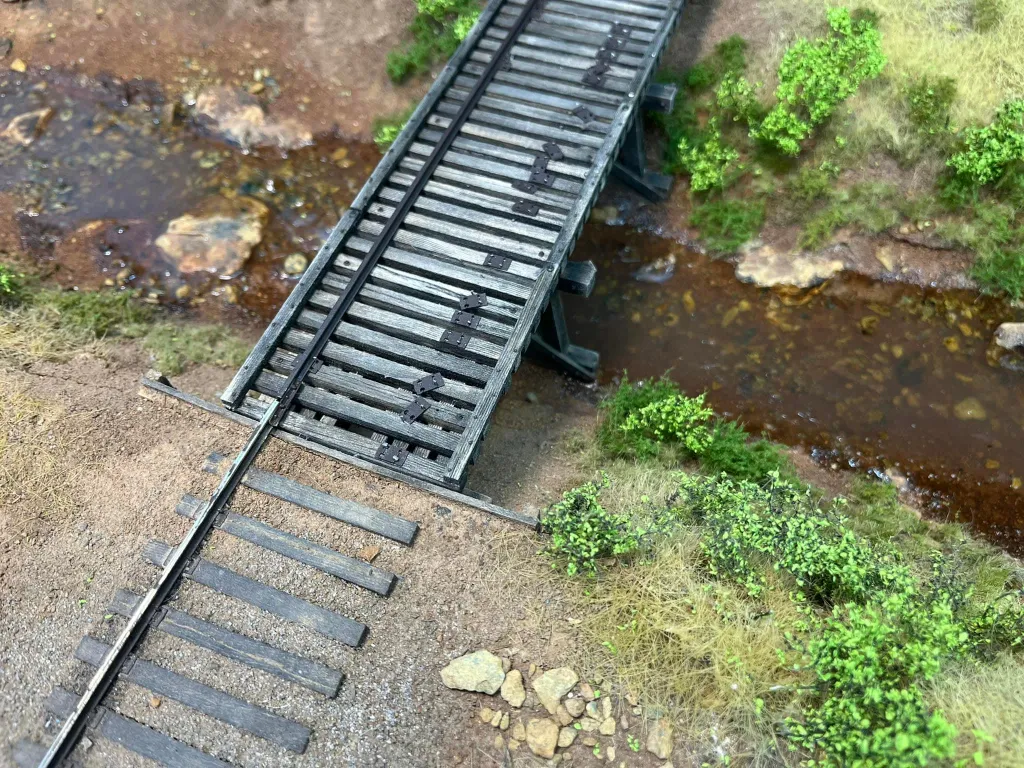
The creek bed and surrounding scenery is a mixture of natural and commercial material. The base is styrofoam sheet that has been roughly shaped to contour I was looking for. I followed that by adding plaster soaked gauze to cover and protect the styrofoam. Finally, Sculptamold was used to make the final creek shape. If you’re from the Sierra Nevada foothills, you know how rocky the area is. Real rocks from the area were broken up with a hammer and the pieces were place into the scluptamold and let it dry.
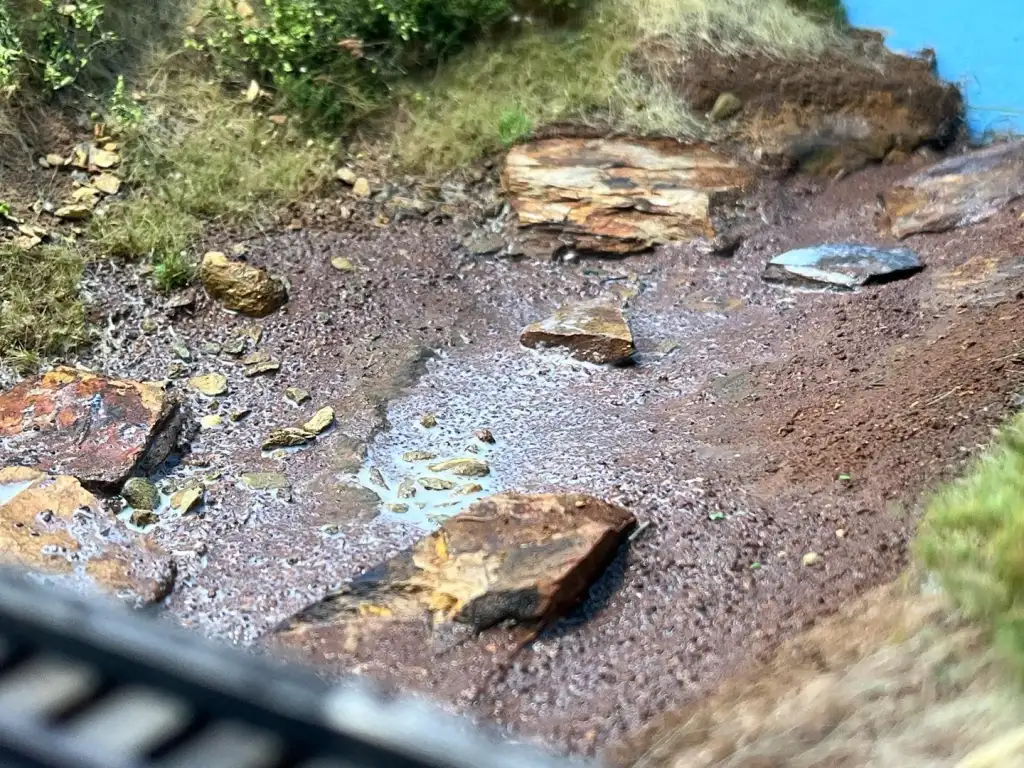
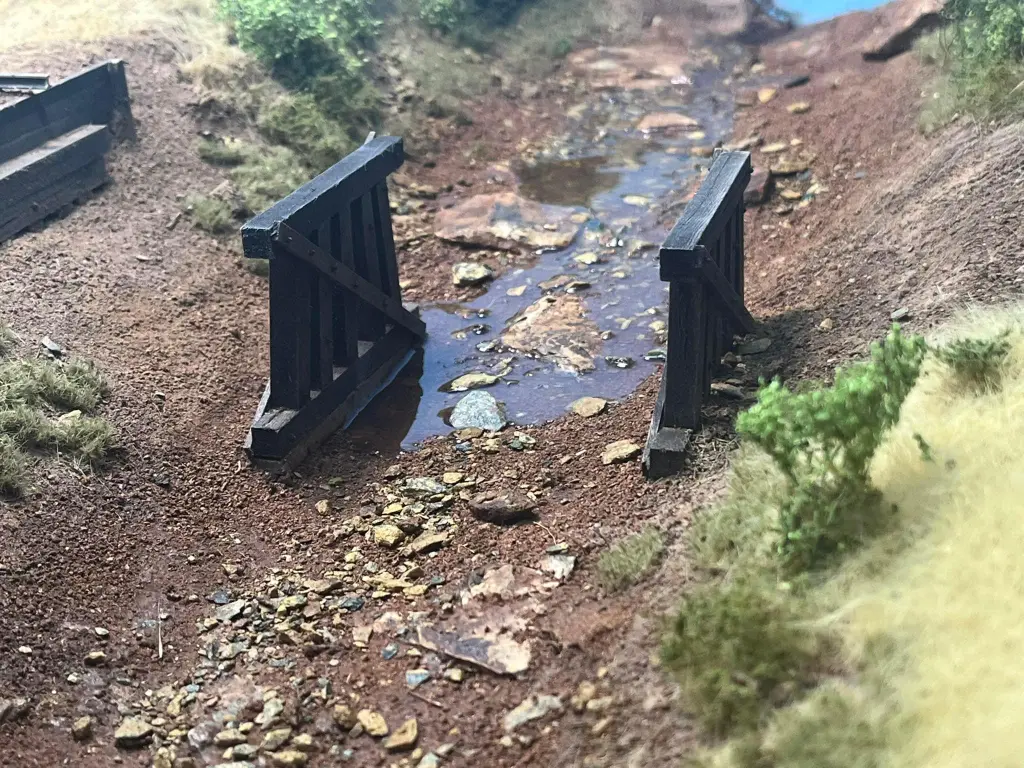
The entire area was painted a flat earth color to hide any white plaster showing through before I added the dirt base. The dirt is from the area that I am modeling in Angels Camp to make it as realistic as possible. I typically add tile grout to the dirt to keep it from becoming too dark when the glue has dried, however, in this case I did not. Doing this gave the soil a much darker appearance than the rest of the scenery, giving it a “wet” look typical of banks and shores of bodies of water. I soaked the entire area and used a mix of water and white glue to secure everything in place. I also added additional surface stones to the creek bed to match the prototype. Once dry, I added grass, weeds and bushes to finish the surrounding area.
Water
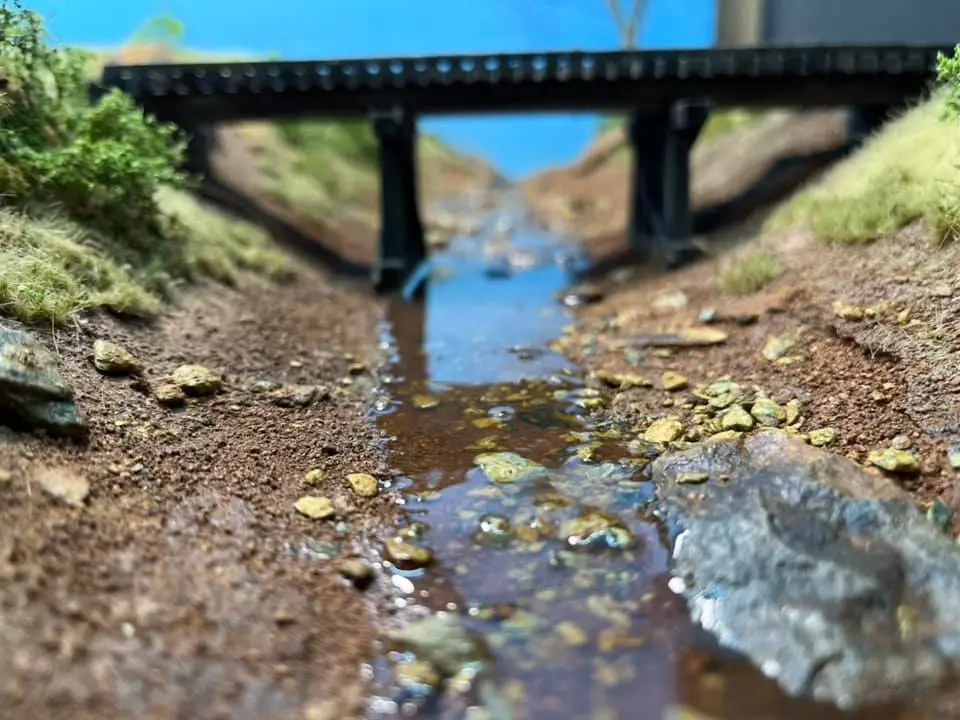
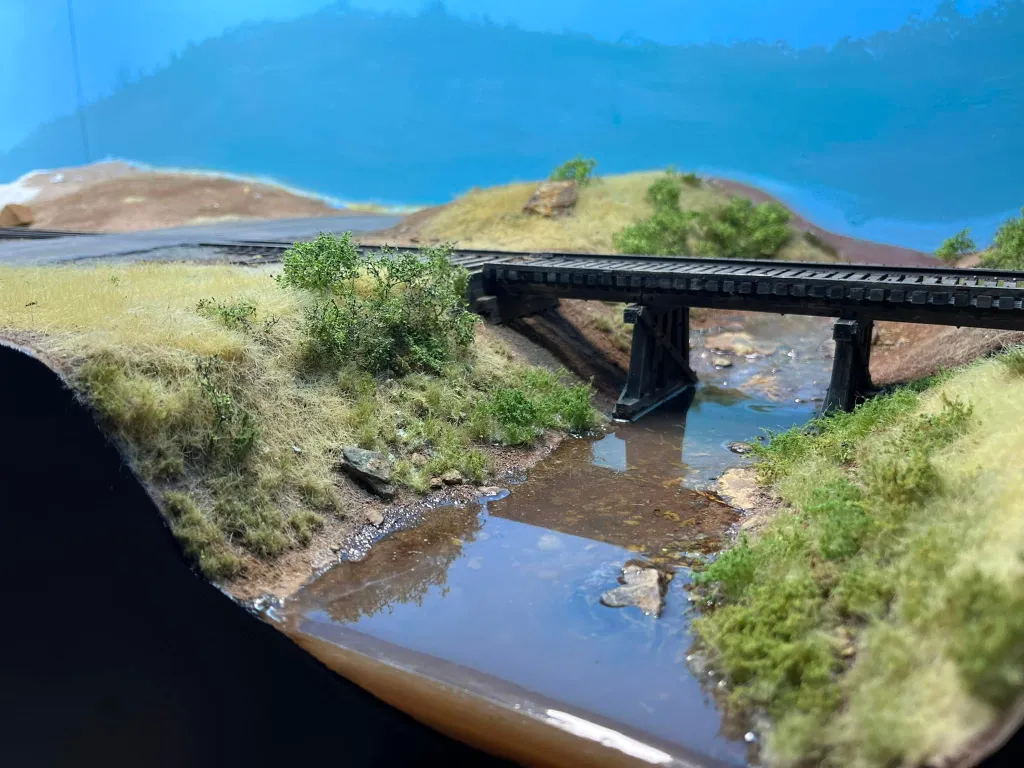
The water was created using is a 2-part epoxy resin from AK Interactive. I poured this is several layers as the instructions stated. This also let me add color to each layer to add “depth” to the water and give it a prototypical brown color because of all the iron and minerals in the creek. Acrylic paints from AK Interactive were used to add the color to the resin.
I started with the bottom layer, which was the darkest in opacity. Keep in mind, a little color, goes a long way so I recommend experimenting with the amount of acrylic paint you use in your resin. A couple of drops is all I typically use unless I am wanting the body of water to be very dark (perfect for deeper bodies of water). I used an old paint brush to push the resin into place and covered the entire creek bottom. this also helps the resin flow into all the natural scenery elements. Each layer of resin was allowed to cure for 24 hours. I also used a micro torch to remove any bubbles in the resin immediately after each layer was poured.
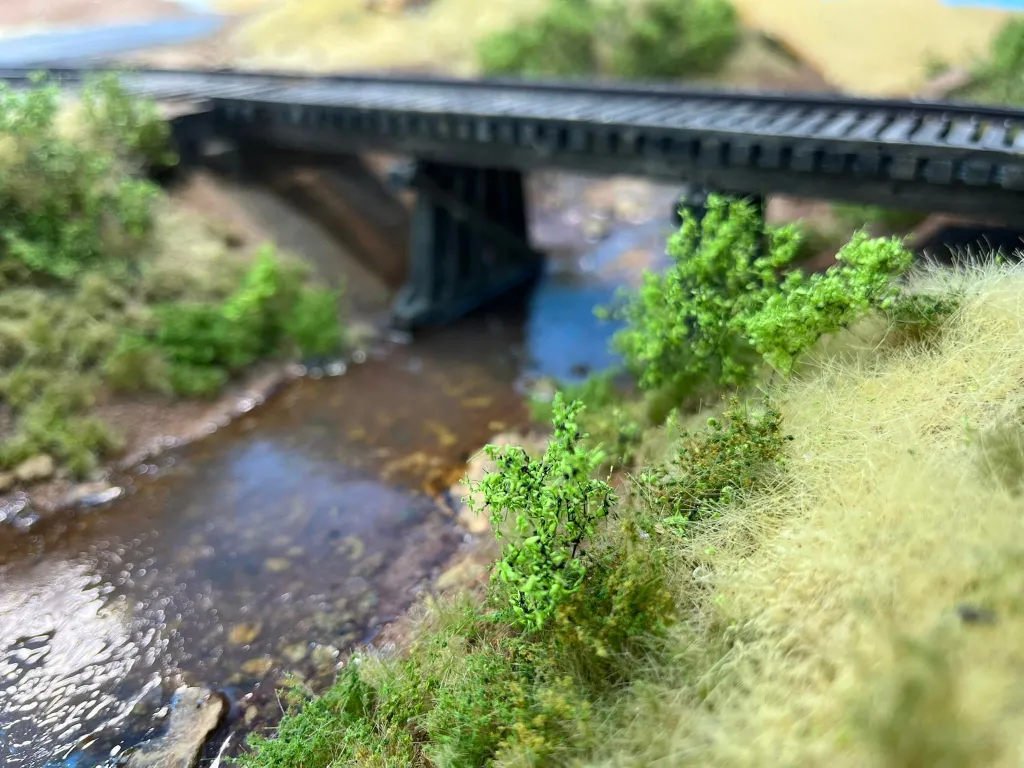
With each layer, the color was much lighter and I also added more vegetation closer to the water and into the water in some areas.
The water in Angels Creek is usually moving but not enough to show white caps. Now that I have all my resin layers completed it was time to add ripples to the water. I used AK Interactive’s Transparent, Acrylic Water Gel to represent moving water. I brushed this on in several coats to make some of the ripples larger around the boulders on the creek bed.
That’s pretty much all there is to it. It’s a very simple technique but did take me some practice to achieve the look I was after. Now to add the rest of the vegetation.

Great work as always, Shawn. You make 1:48 really POP!
Thank you very much!
It looks real, especially the subtleness of the ripples. Great job.
Thank you Greg!
Great work as always and really nice seeing the new post here.
Thank you Chris. It feels good getting back into the swing of things!
I may have missed it somewhere but are you modeling your track to P48 standards? I really like your use of the Right ‘O Way track products!
You are correct, I am modeling in Proto48. I do too. I really like ROW’s products and Jay has been a lot of help in my endeavor.