Last time I wrote a brief backstory to my freelanced shortline railroad. As mentioned, it helps me focus on a design direction. Looking at my map, I decided to focus on the interchange with Southern Pacific and the Sierra Pacific Railroad’s shops.
My layout room is 12 feet by 12 feet. I plan to build the railroad to Proto48 standards. My idea is to construct a modular layout, so if we ever move, I can take the railroad with me. I drew a track plan to get an idea of how the benchwork would fill the layout room. The overall layout will be 11 feet by 8 feet. I plan to have a small extension just past Angels Creek to allow me to switch more cars into the interchange.

The Design
You’ll notice that the mainline and interchange tracks not parallel to the front fascia. To me, this adds more realism and visual interest to a scene and does not look so “cookie-cutter” or toy-like. This is just a personal preference and something I have learned over the years designing dioramas. As with most of the layout, the scenes will be simple and designed to focus the viewers eyes on the track and trains. The scenery is there to help place the viewer in the scene and tell the story of the locale.
The three major design elements are going to be the bridge at Angels Creek, the SP interchange, and the shops area. As mentioned, all models will be viewed up close and I really want to focus on details. I also want to learn more about prototype track construction, which means, a lot of research will go into every model. I am not a true “rivet counter” but I do like to see how far I can push my model building skills and this layout should provide the perfect opportunity.
The Angels Creek bridge will be about nine-inches in length and almost three-inches tall. Not a massive bridge compared to most model railroads but perfect for the scene. However, with the amount of hardware that goes into wood trestle construction, this should prove to be a great point of interest to photograph trains.
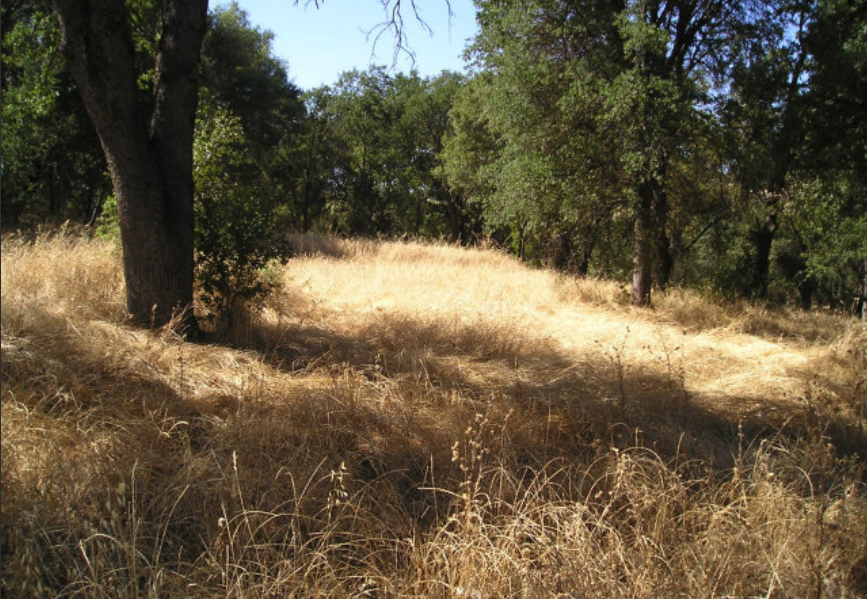
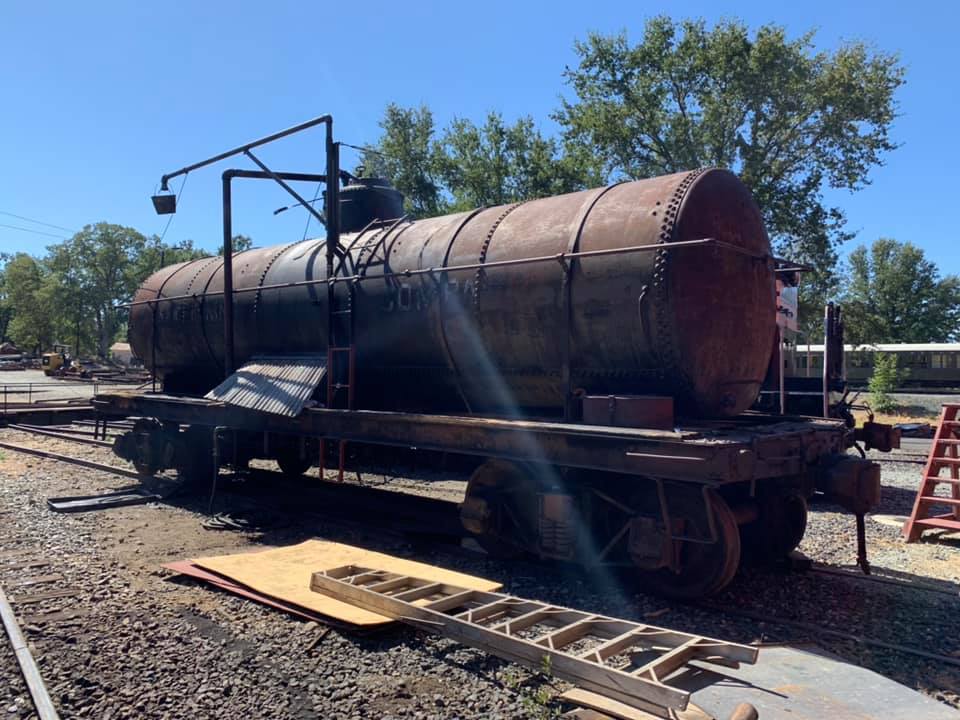
Moving into the SP interchange, again this should be a rather simple scene. The goal of this scene is to provide interesting motive power, and equipment in the beautiful Sierra foothills. There will also be a bit more maintenance to the rails compared to the shortline, Sierra Pacific Railroad, and maybe some additional track equipment.
Finally the shops area. I have not fully fleshed out the details of this area as I’m waiting for the final benchwork assembly to allow me to finalize measurements and track arrangements. I do know that a large shop building will be located here along with some locomotive services for both steam and diesel.
Benchwork
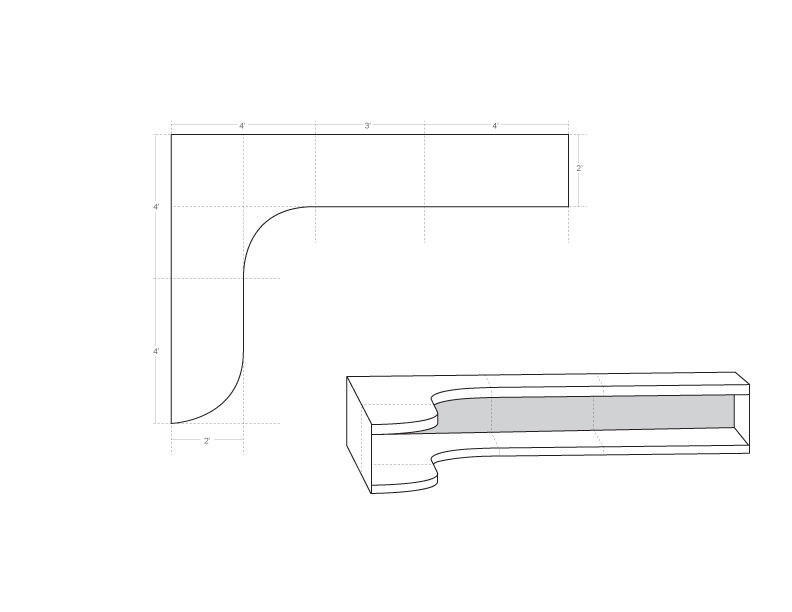
Benchwork has never been my strong suit so, I decided to reach out to Tim Horn Lasercutting. Tim produces beautiful laser-cut modules and graciously agreed to build all five modules for me. Tim was able to create a plan based on a rough sketch I provided.
Track
I plan to build the track in sections on the bench which will allow me to focus on details. This is going to be important since everything will be viewed up-close. I will be using Right-O’-Way rail and accessories for most of the track components.
For the mainline and SP Interchange, I will be using code 125 rail, which is approximately 90-pound rail on the prototype. Similar to the Sierra Railroad which upgraded their mainline to 90-pound rail in the 1950s to accommodate Mallet, number 38. I want to have lighter rail around the shops and yard to represent original rails that have not been upgraded. I will be using code 100 rail in those areas which is approximately 75 pounds per yard.
Final Thought
For those following the build, please be patient. I’m hoping the build takes quite some time and articles may not be written as often as I would like. I also hope to share what I learn along the way and advise from more experienced modelers is always welcome.

Shawn sounds like a very interesting undertaking.
Take your time I’m sure there will be many followers I for one.
Jerry
Good plan Shawn.
You GO, Shawn. Love your discussions on the trackwork pages in FB. The interchange looks tailor-made for clusters of litter and ‘stuff’ for the maintenance of the railroads. I love the idea of contrasting the fully Class 1 railroad with your smaller short line! User (and modeler!) experience, indeed!
Curious to see how the moules are designed. If I ever get around to building a layout I want to do it with modular units that can be removed to work on individual sections.
I’ll be writing about them in the next post. That said, they are laser cut and meant to be glued together. Screws help keep it secure while the glue is drying.