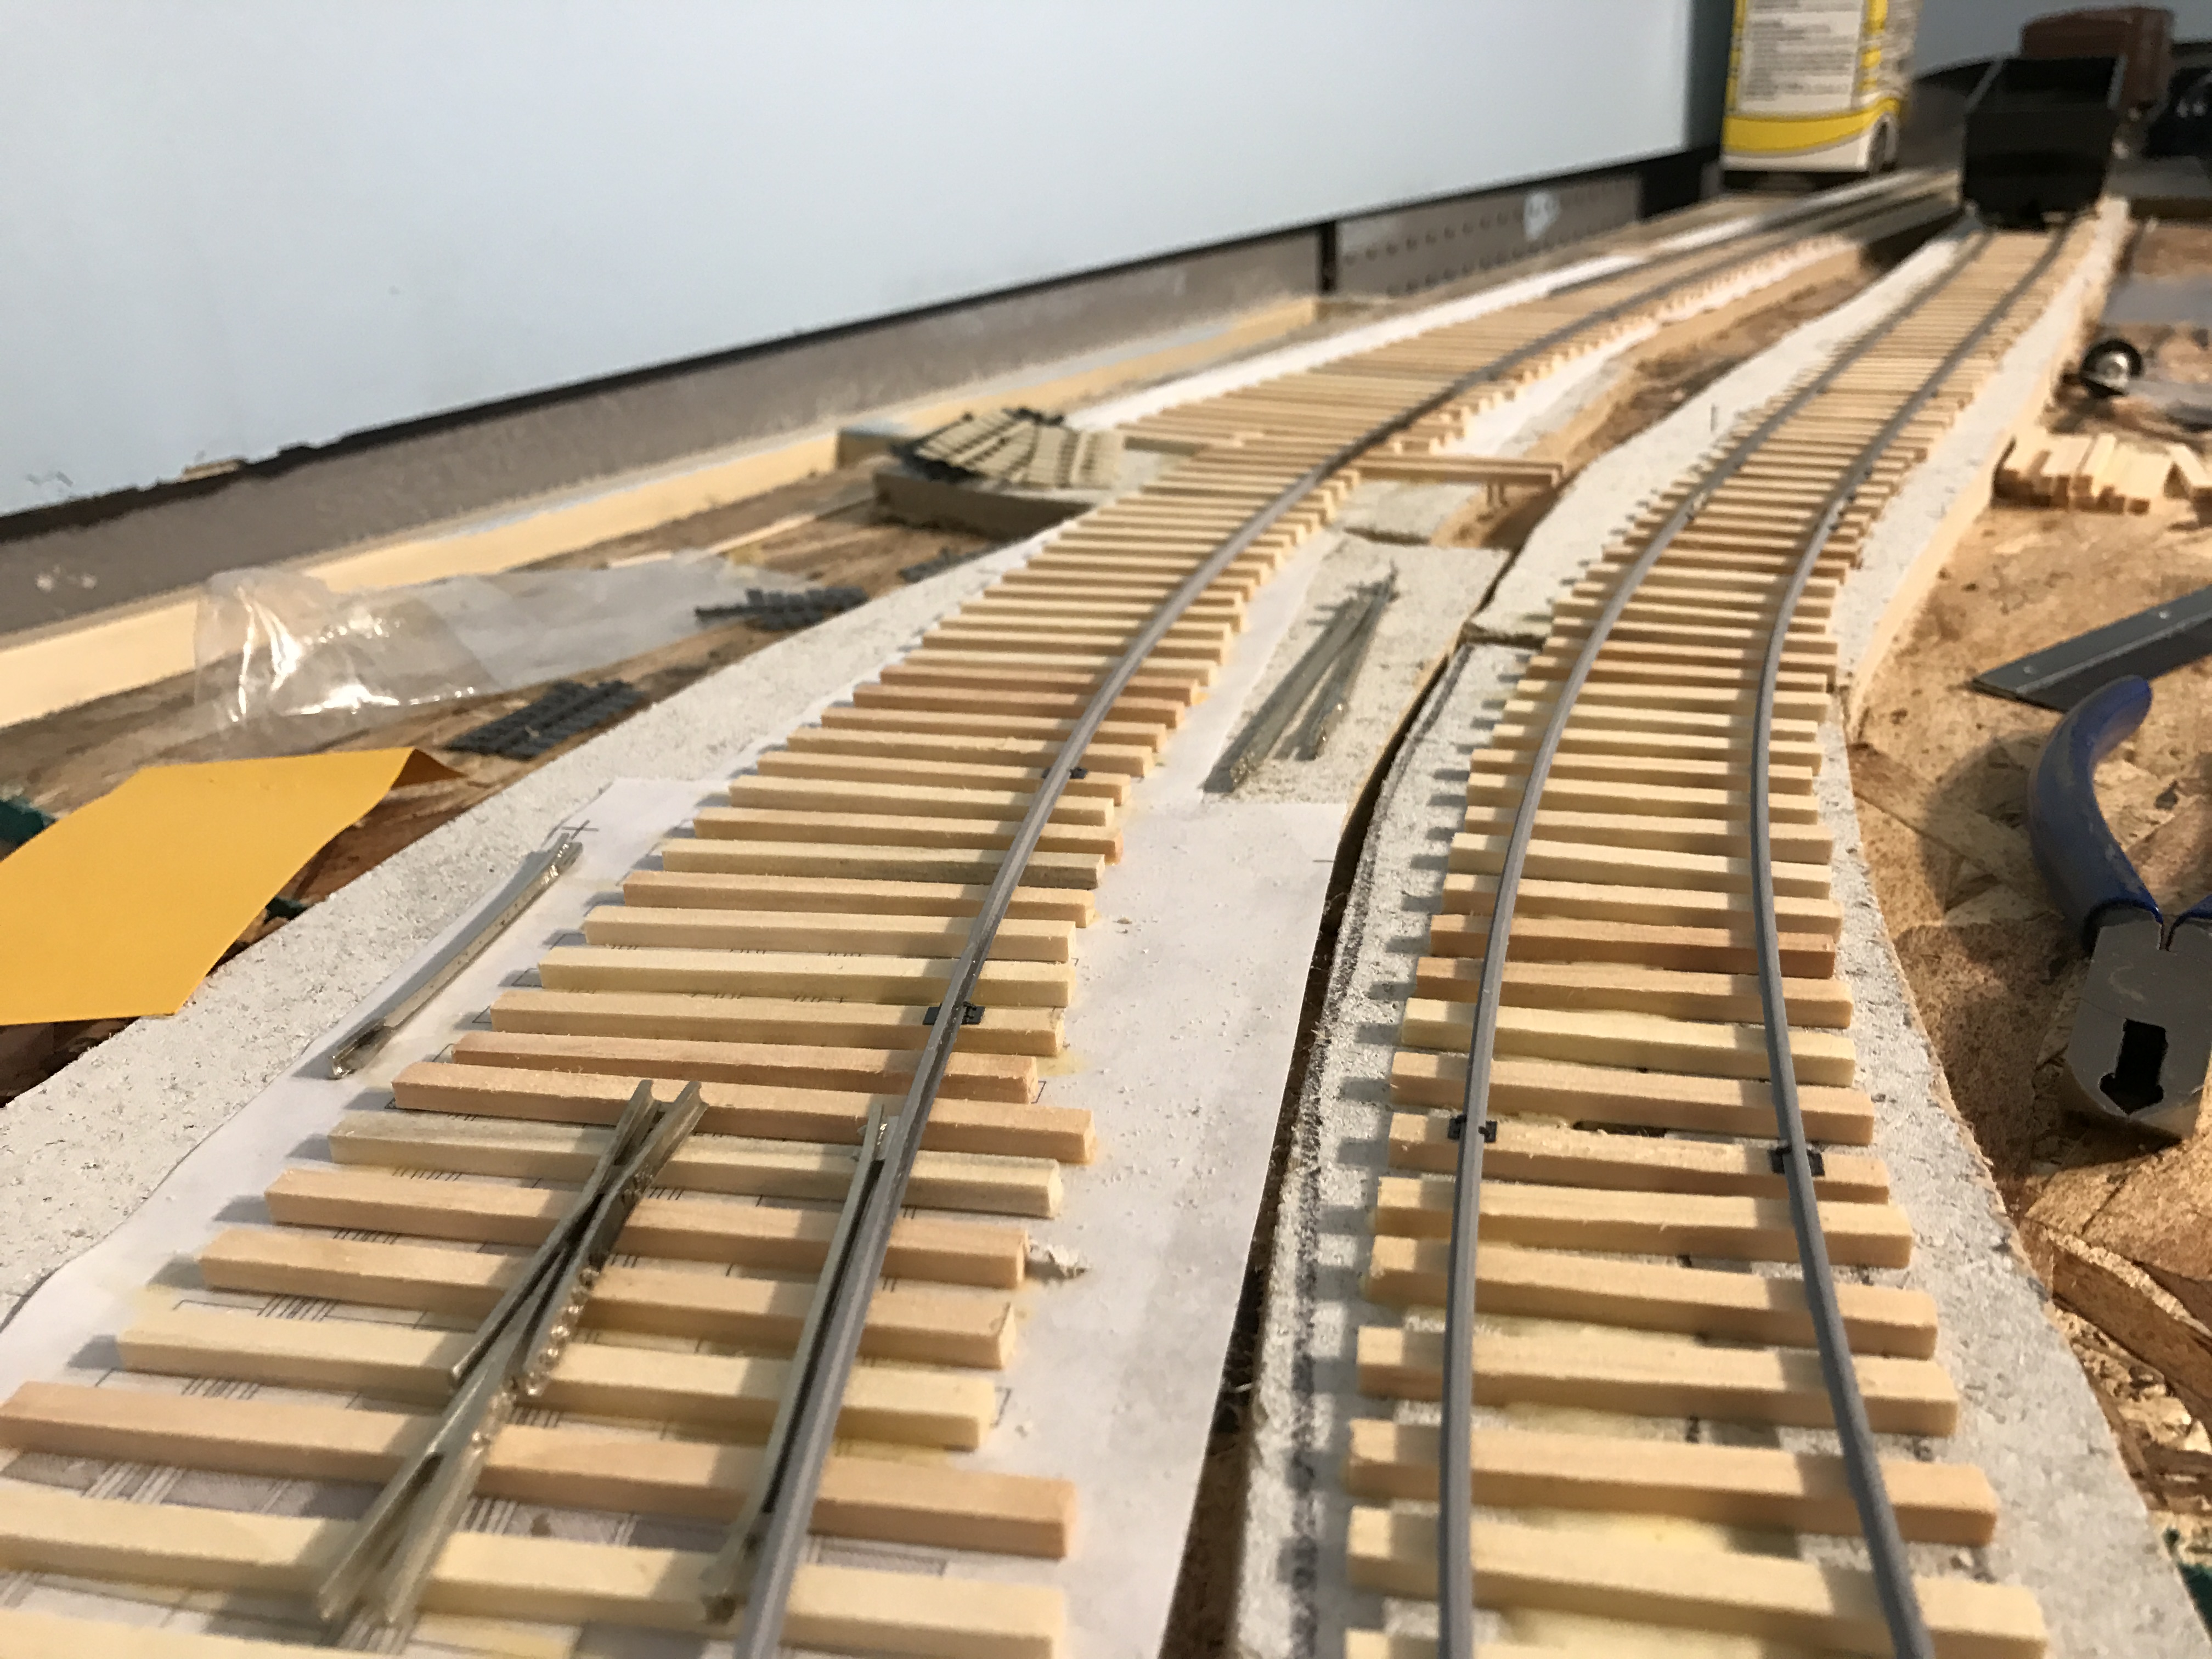
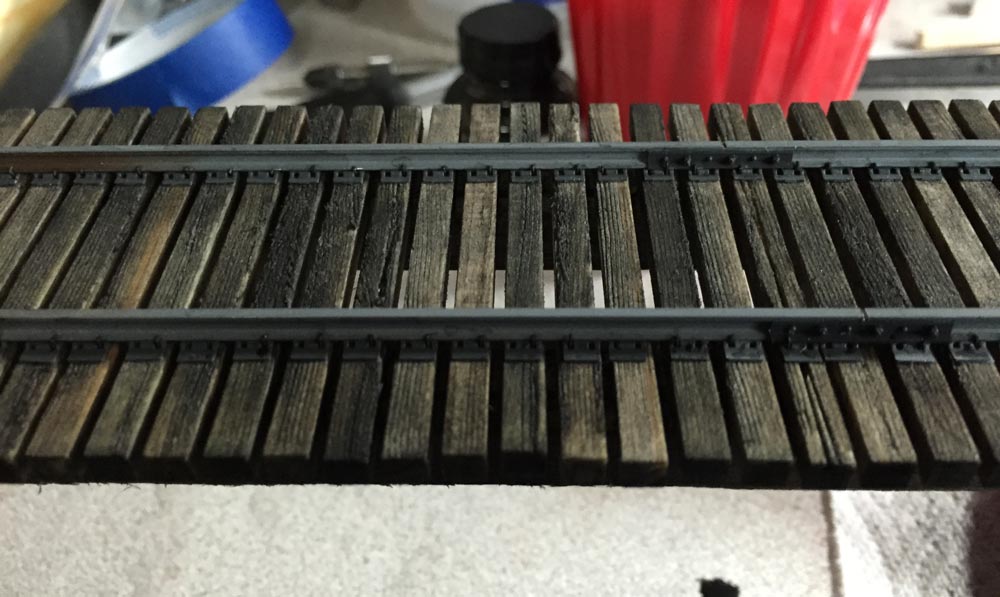
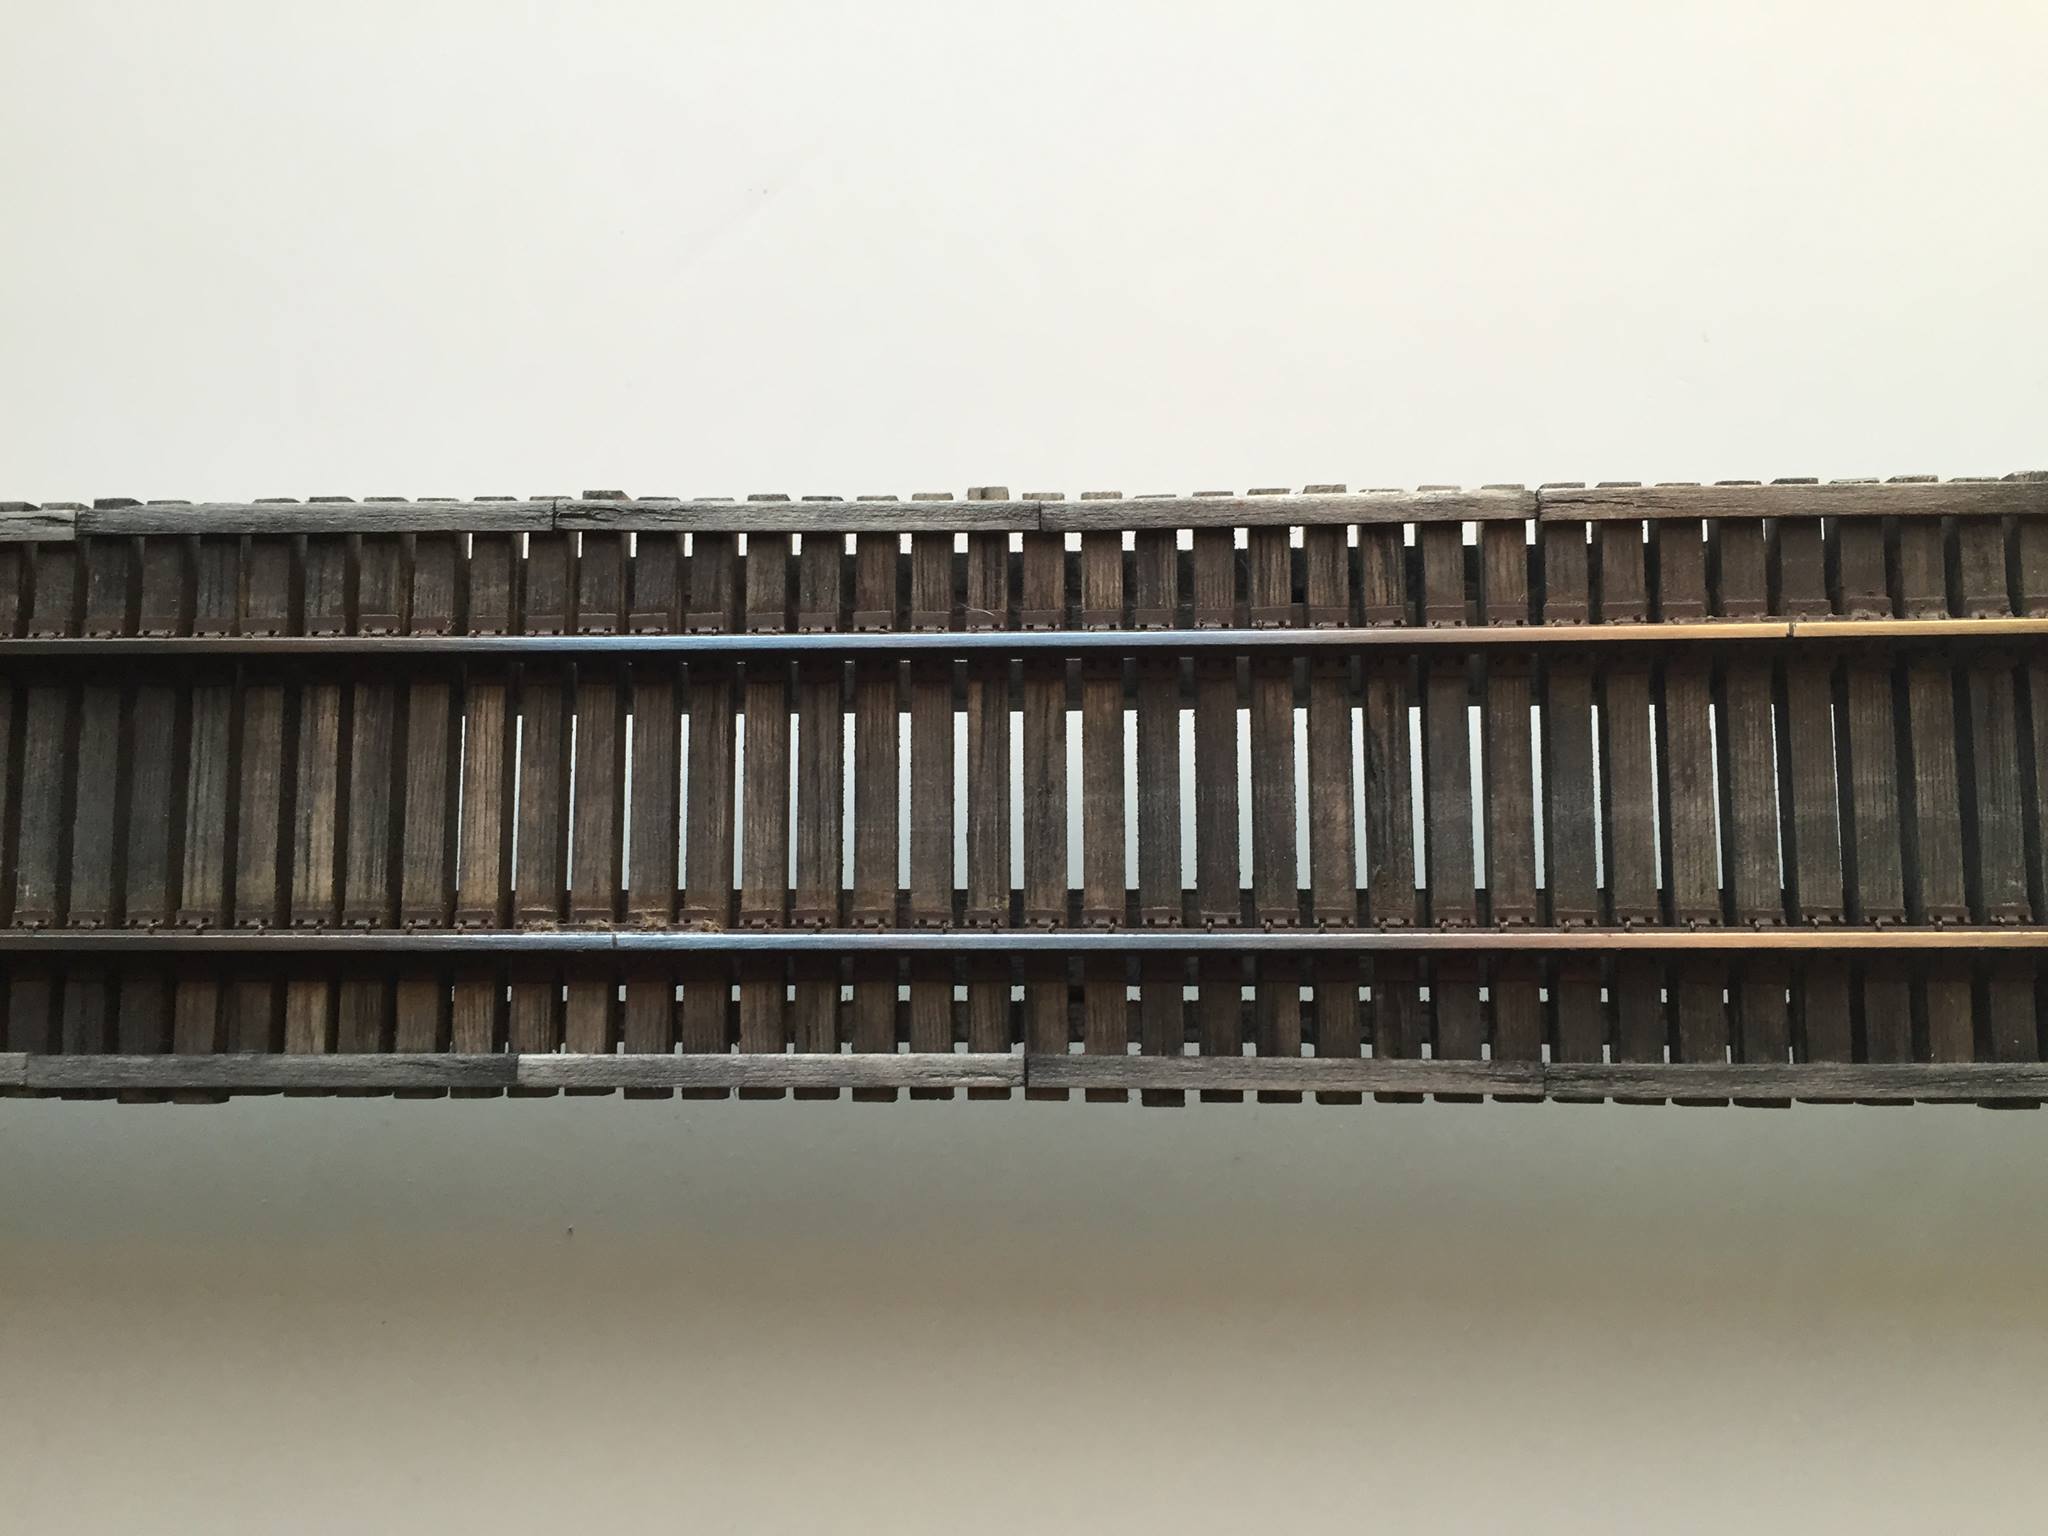
My process is a bit different, as we will discuss here, and so far I like the results. I start by gluing the ties to my roadbed or, in this case, to my bridge stringers. Once dry, I use my razor saw to scribe wood grain into the wood ties. I make sure to leave some of the ties relatively untouched to they look newer or are weathering slower. I will use the tip of my razor saw and my xActo knife to gouge deep crevices into some. Once you are done, sand everything to remove any fuzz that remains on the wood.
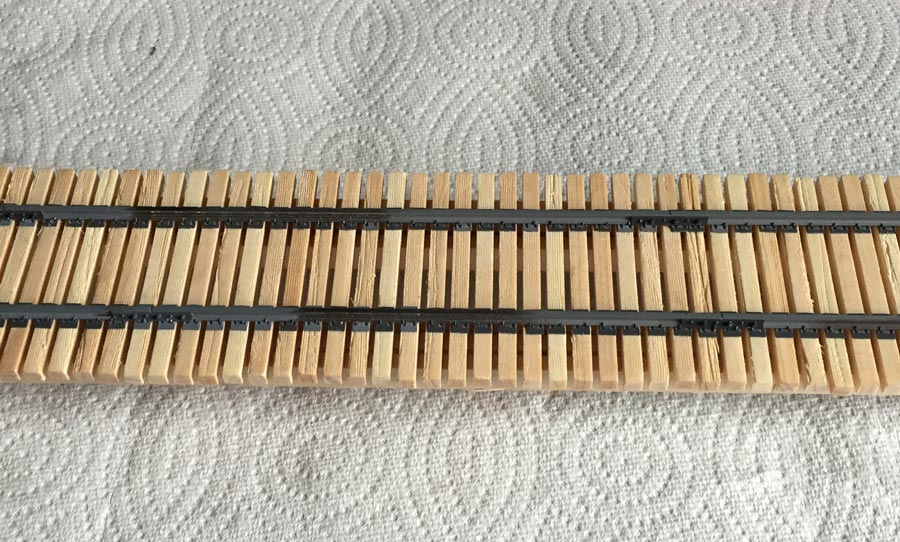
The rail I use is code 125 steel from Right-O-Way and because it is so shiny, I like to give it a rough overspray of automotive primer to make it easier to see as well as provide a good foundation for my top colors. You can either shoot it on with your airbrush or straight from a spray can. Once dry, I spike the rail into place along with tie plates.
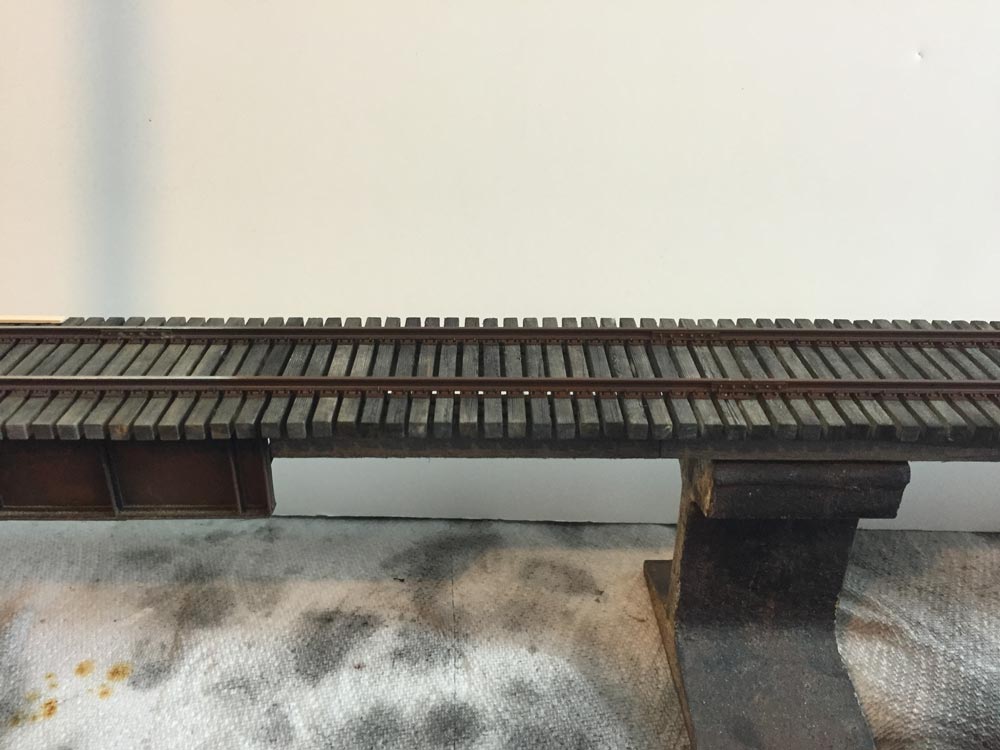
Now the rest of the project gets a little messy. My tie stain usually consists of water, India Ink and dirt. In this case, because I am modeling a bridge, the dirt will be applied last.
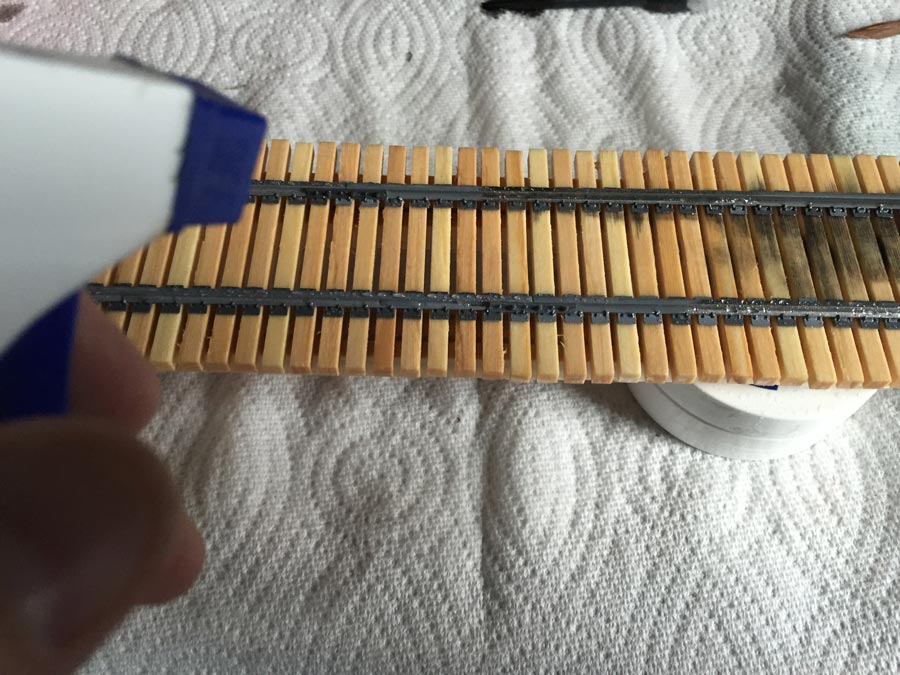
Using a spray bottle, I wet all of the wood with water so that the color will flow nicely and get into all the hard to reach areas between the ties. Now I use a brush to dab and brush my ink/water mix onto everything.
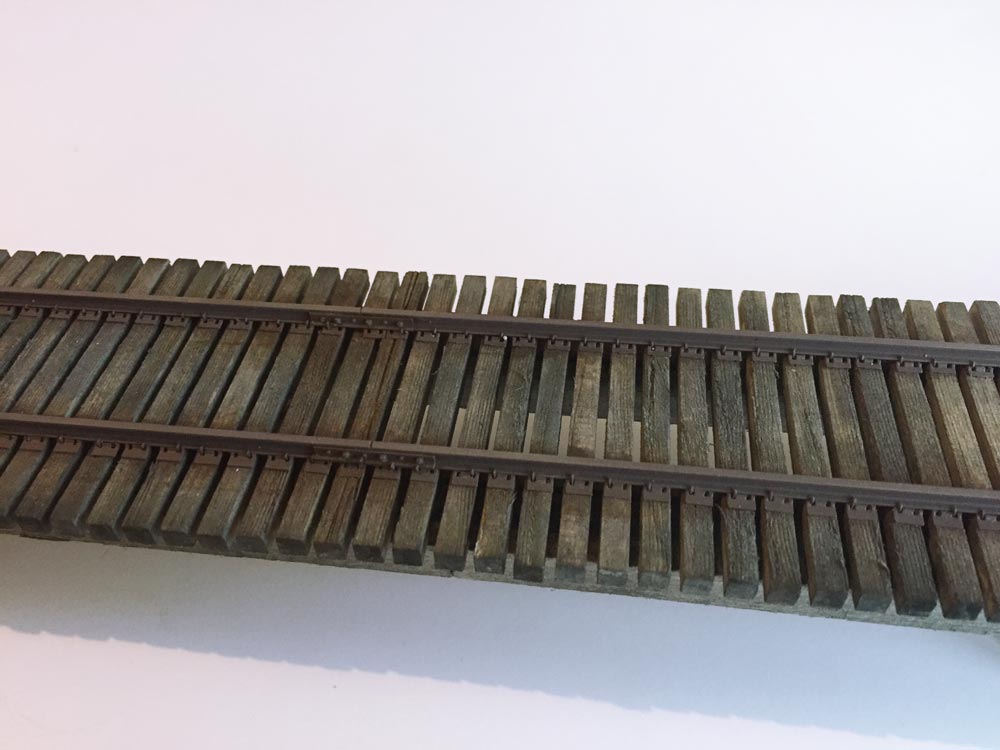
Because I added water to the wood before I applied the stain, the color easily works into everything with little effort. I put my stain on in layers to build up the right color making sure that the first layer is only damp. Continue to build up your color until you are happy with the results. To further my fading effect, at times I will use sandpaper to lightly sand areas giving even more contrast to the wood.
To speed up the drying process you can use a hairdryer, however, be extremely careful with this. The plastic detail parts I use will melt when they get too hot. Once everything is good and dry, you can add more color if necessary or we can move on to the rails.
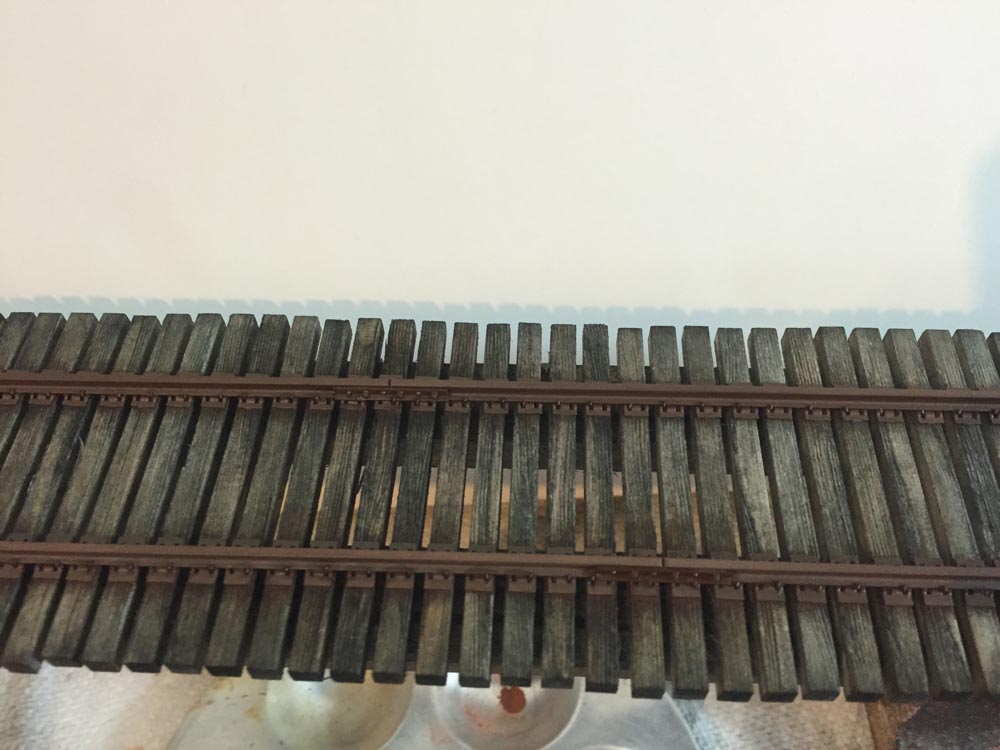
The wood and stain are beginning to dry and we can get a feel for how dark it is going to be. Before it completely dries, I like to add the next layer.
As we paint and add color to our model, it is important to keep in mind how they will be viewed. Most of our models or layouts are viewed indoors where it is much darker than natural light. Further, natural light is white and blue and typically, lightbulbs are white and yellow. This difference in the light will greatly change the way we should look at the color on our models. I like to keep my colors lighter if possible so that details are a little easier to see when viewed indoors.
Painting the Rails
I begin by masking the wood with painters tape. It’s ok to get color on the ties, however, I want to keep it to a minimum at this point. Later I will be adding a lot of color to the entire structure. Once masked, I can begin spraying my base coat. For that, I am using Chipping Rust by AK Interactive. I use dark first so that when I spray my lighter rust colors, I can create shadow areas to add more contrast.

Now, I load my lighter color, Old Rust, into my airbrush, spraying this more from the top than the sides. Remember from our first article, the tops of our details will be a bit more sun bleached in real life. I like to make sure there is more color on top than the sides. When everything is dry, I remove the tape and then move on to the weathering.
Weathering
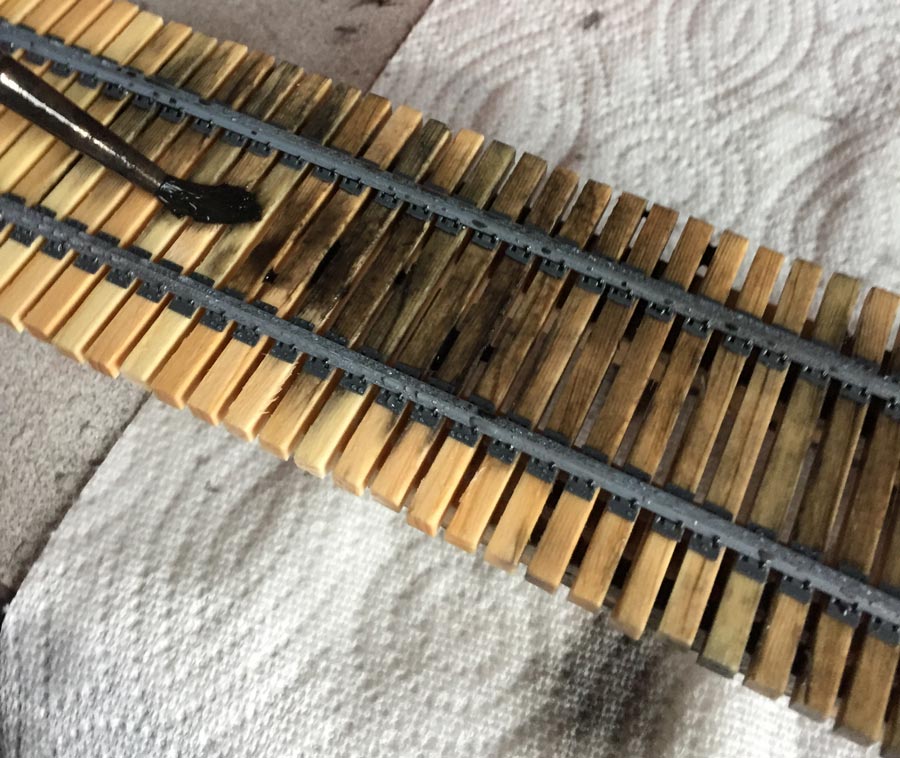
If you have never used pigments before, you’re in for a treat. Pigments are finely ground powders that can be applied to your model to add layers of color to your weathering. I dust Dark Rust onto the rails and details and follow up by soaking a brush in mineral spirits and brushing the rails. This will allow the pigments to flow into the cracks and holes giving it a natural look. As you can see, the rust has been applied and the mineral spirits are almost dry. The rust color as flowed onto the wooden ties.
To tone down the rust color, I use an extremely thin wash of AK-Interactive’s Track Wash. This is a very dark color used to highlight tank tracks by military modelers. This color will tone down the overall color and darken the wood around the rails. Next, I create another extremely thin wash of Earth color. Brush and dab it onto the rail and ties. Allow this to dry and heavily dust the entire deck and rails with real dirt. The earth color will highlight details and the dirt will tie the entire thing together.
Finally, give the entire deck a coat of flat clear varnish. This will seal everything and give it a wonderful finish. If at any time you find the color too dark on your ties, don’t be afraid to lightly sand the area with fine sandpaper.

Hi Shawn how and with what do you clean the rail heads?
Fingernail polish remover and a Q-Tip. Seems to work pretty well.
I like this rail color. I’ve been using Camo Brown, but it’s too dark for what I’m trying to achieve. Is it a gray primer you started with?
Thanks Greg. The grey primer is testors grey primer. I used this method before I started using Camo Brown. When I use camo brown I will follow that up with acrylic washes to add color variations in the rust.