The railroad I am modeling is located in the foothills of Northern California in the spring of 1974. For railroads, the 1970’s saw many railroads fall in disrepair as they attempted to save money where they could. The history of my railroad, although fictitious, is important to note as I am planning and laying track. Further, the railroad never made a lot of money in it’s long history, most of it’s equipment is second-hand or built in it’s own shops. For years I have been trying to achieve the look of poorly maintained roadbed and have not been too successful in the past. After quite a bit of trial-and-error, I found a technique that is starting to provide good results.
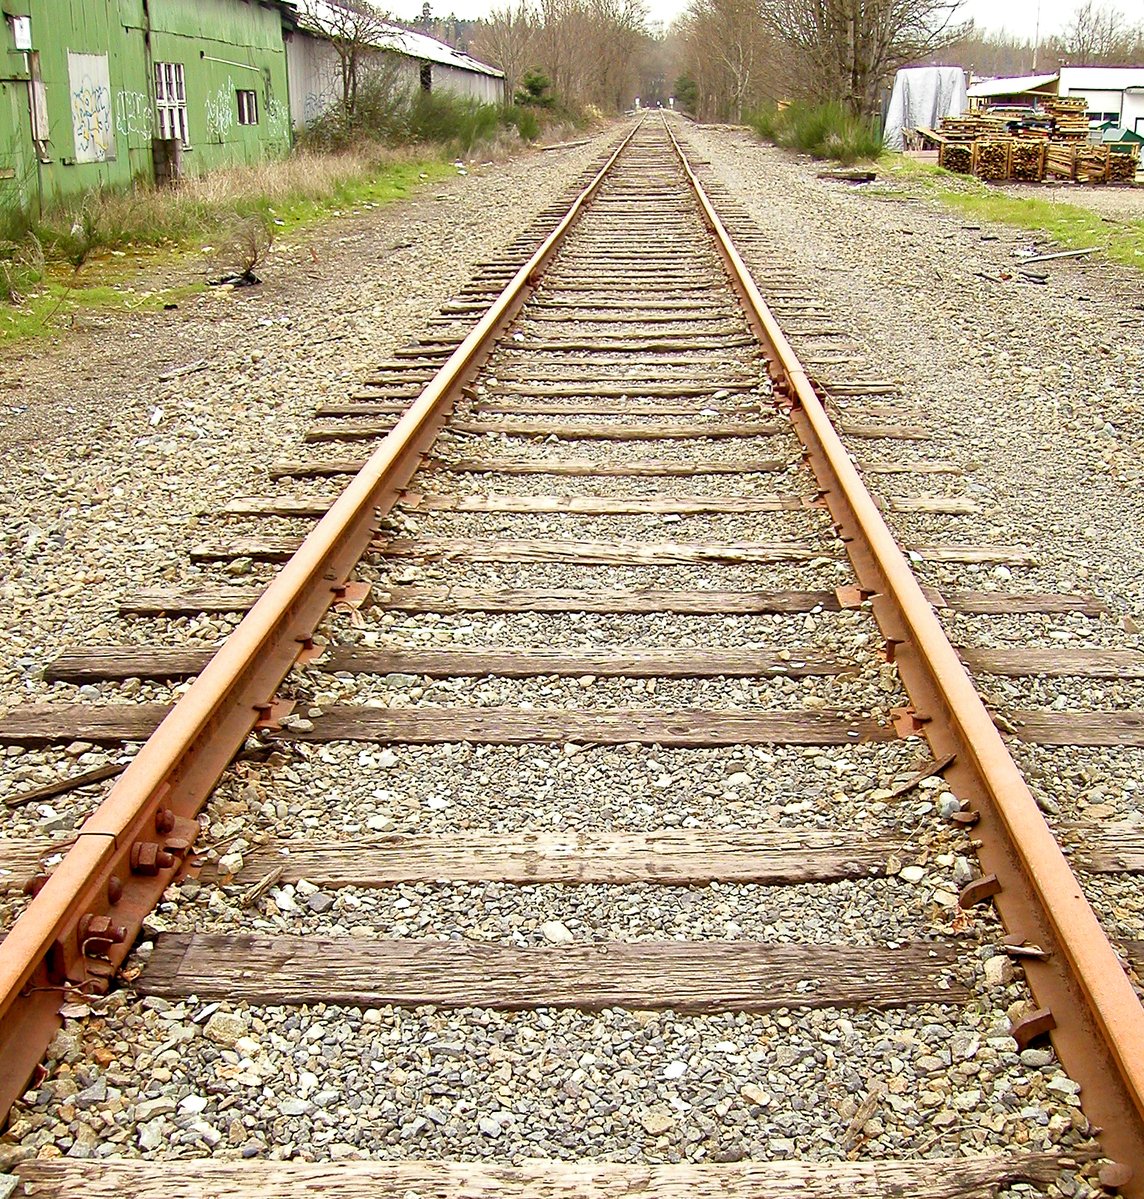
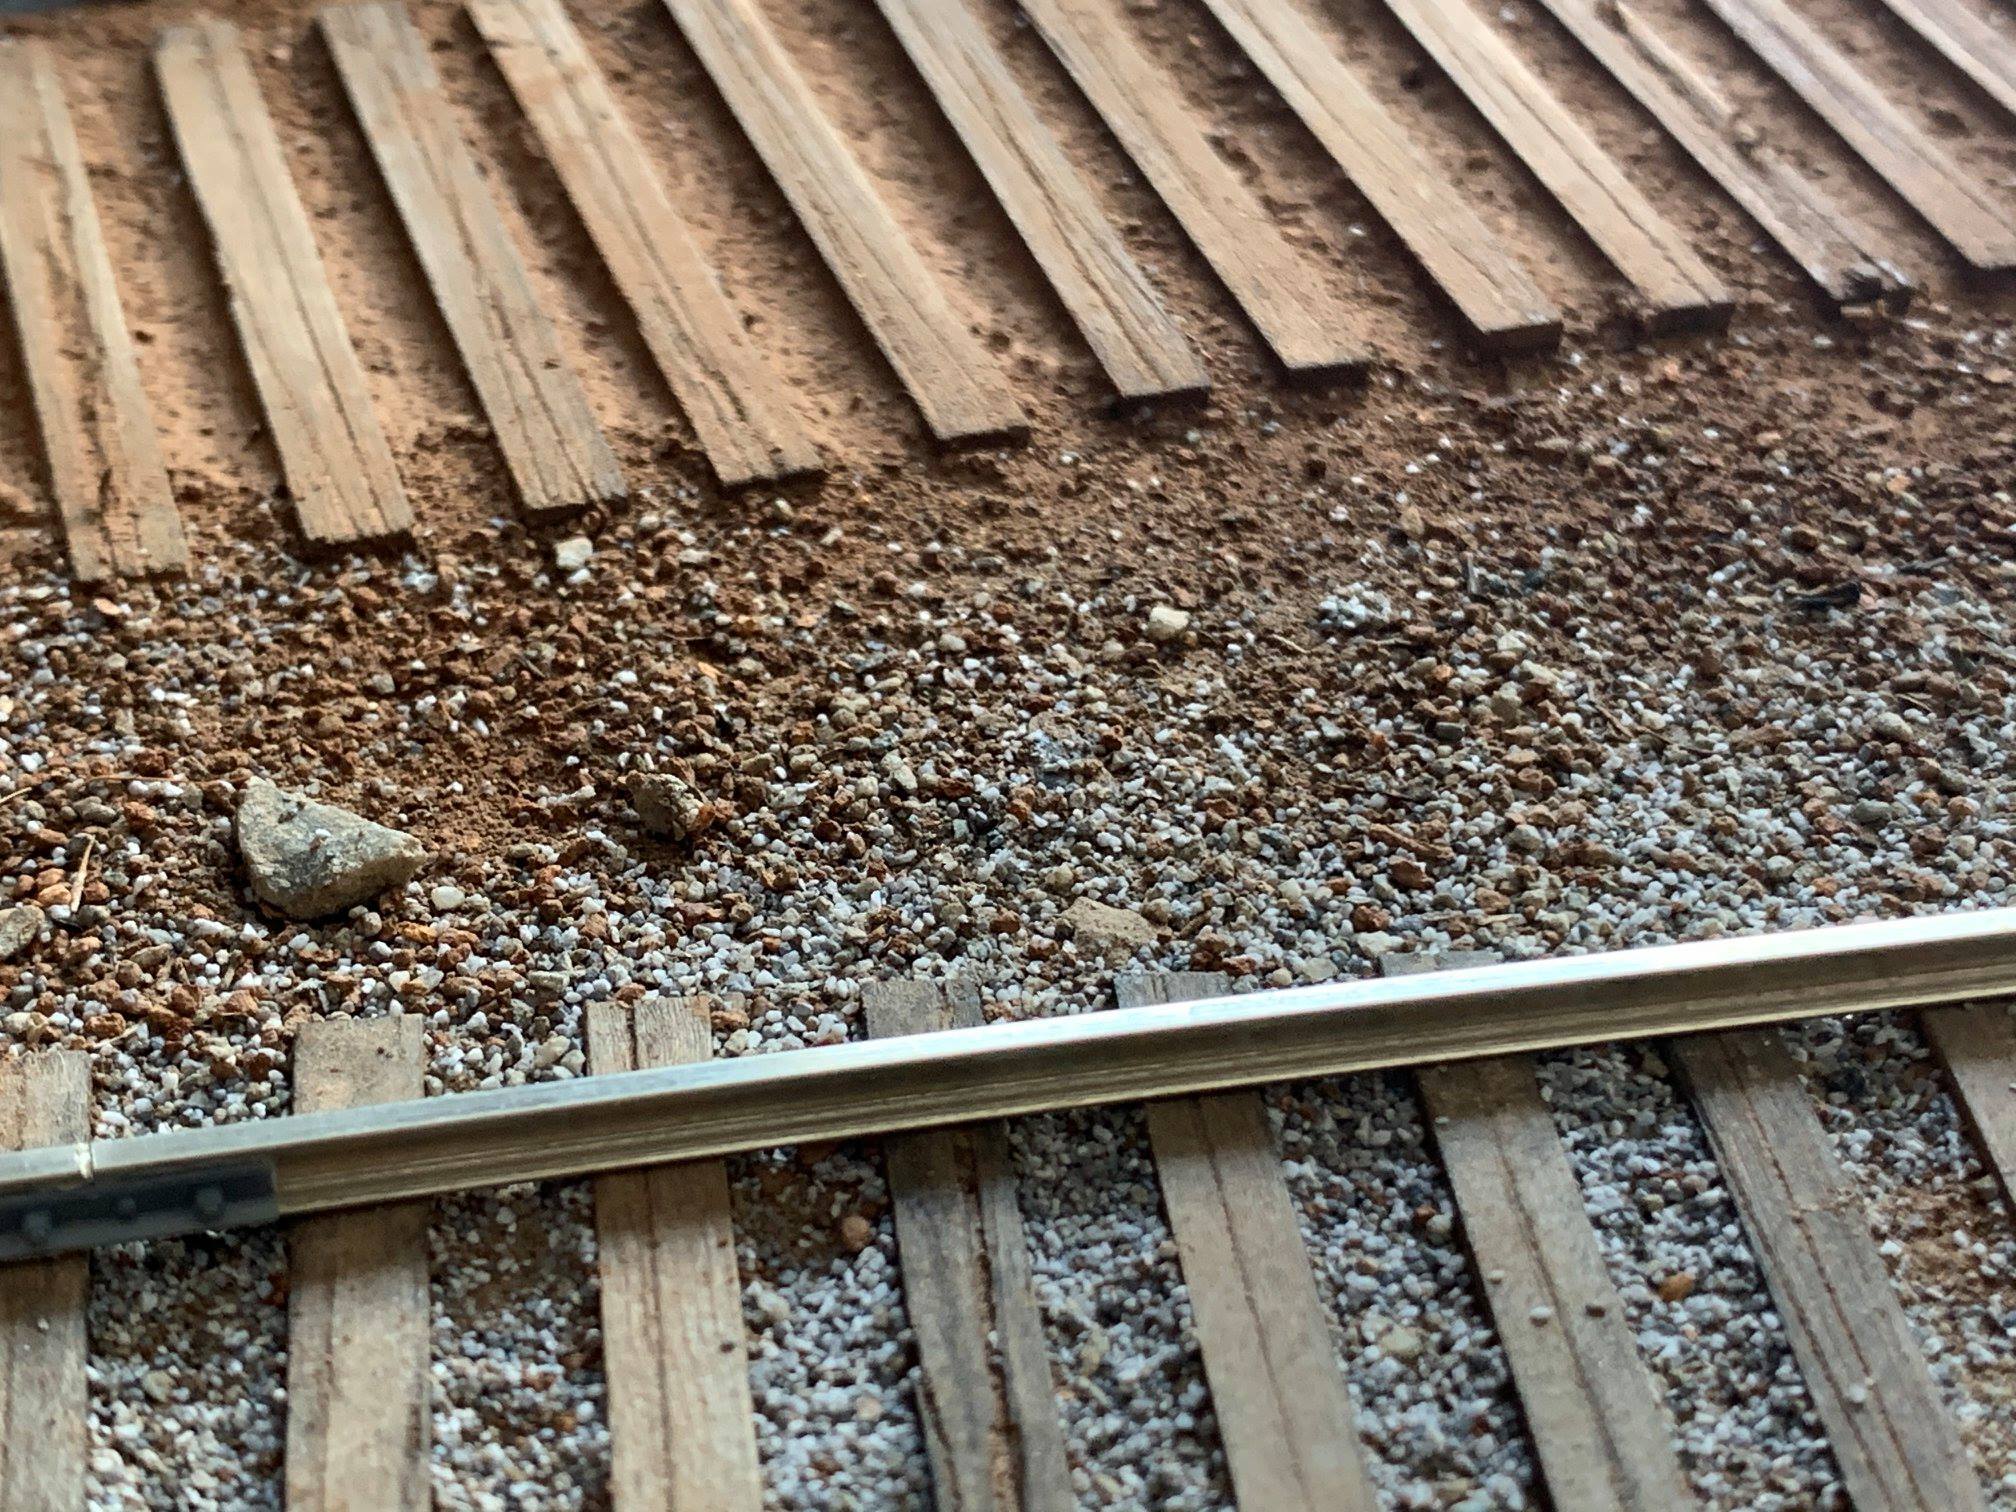
My track will be well used and I want the look of some stone ballast, however, after years of being lightly maintained, the ties have begun to sink into the soil and ballast. Ballast is also being washed away after many years of neglect.
Getting Started
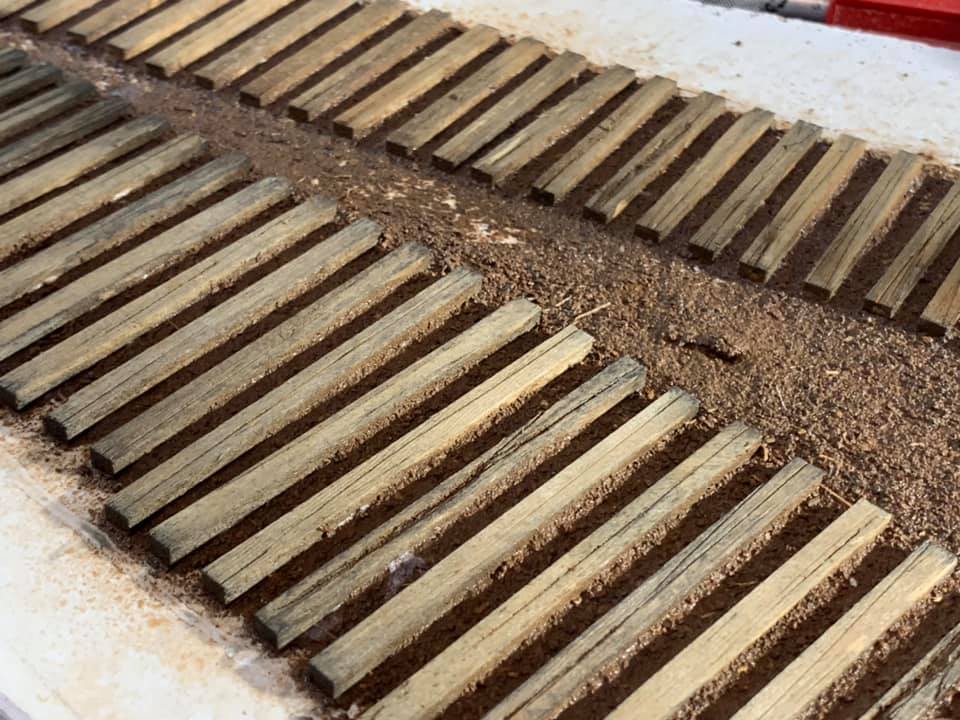
The materials are simple: roadside gravel, dirt, commercial ballast and large paint brush. I’ll start with laying the ties, roughing them up and staining them. While that is drying, I sift the dirt that I collected with a large, 8 inch food strainer. Then I sift the gravel with the sifter.
Once dry I cover everything with a light layer of dirt then glue in place.
Ballast Mix
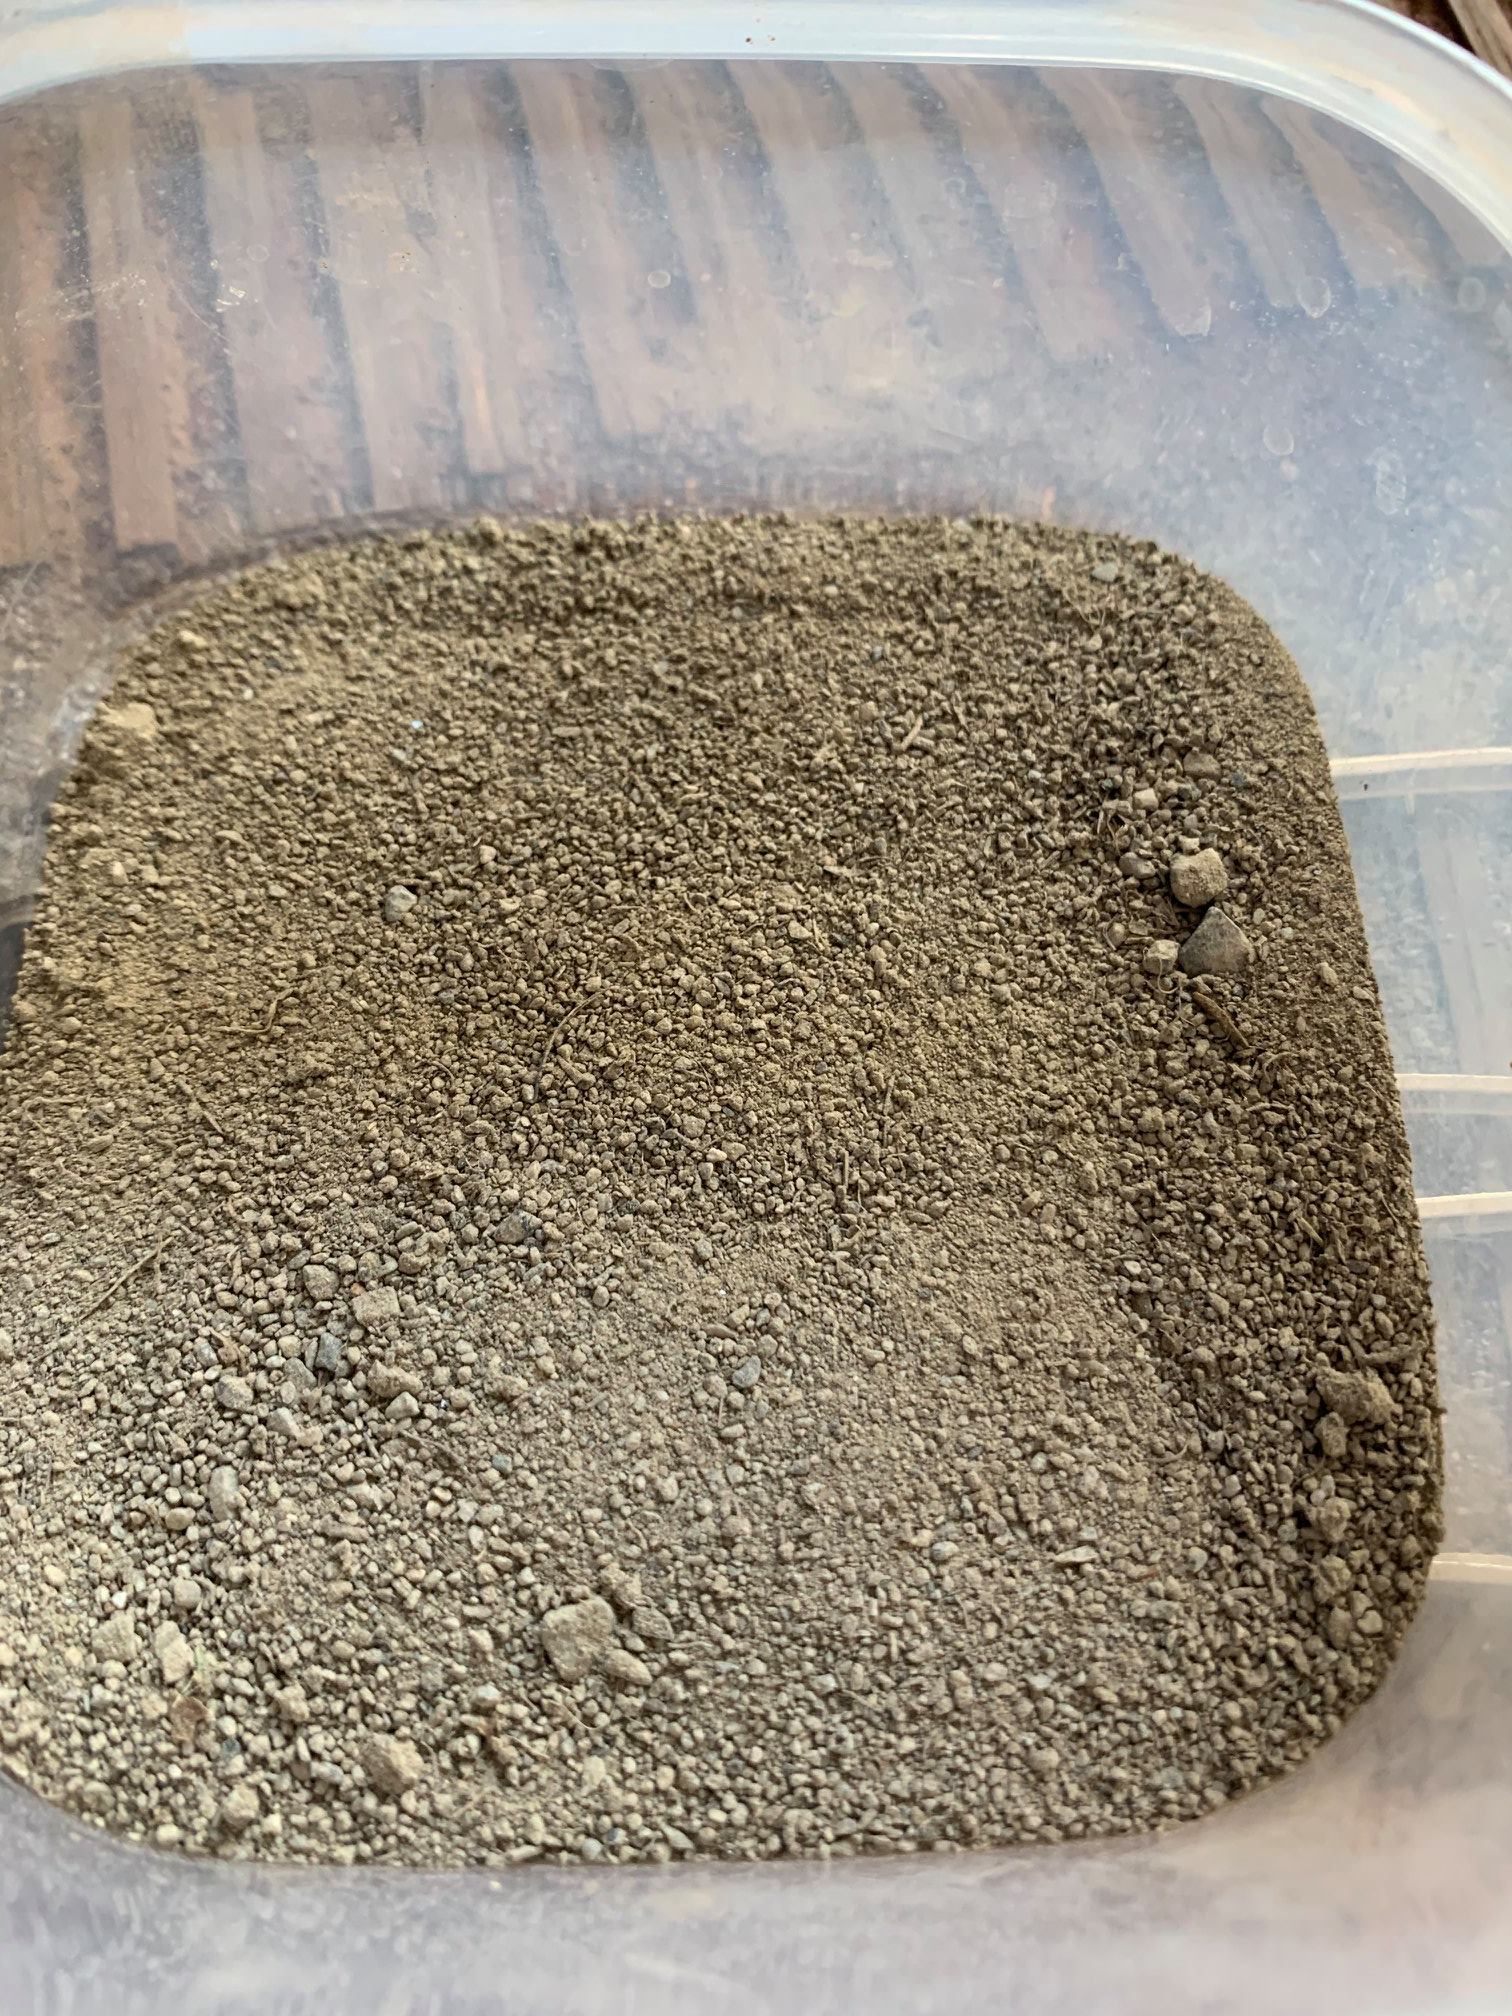
The base for my ballast is the sifted road side gravel.
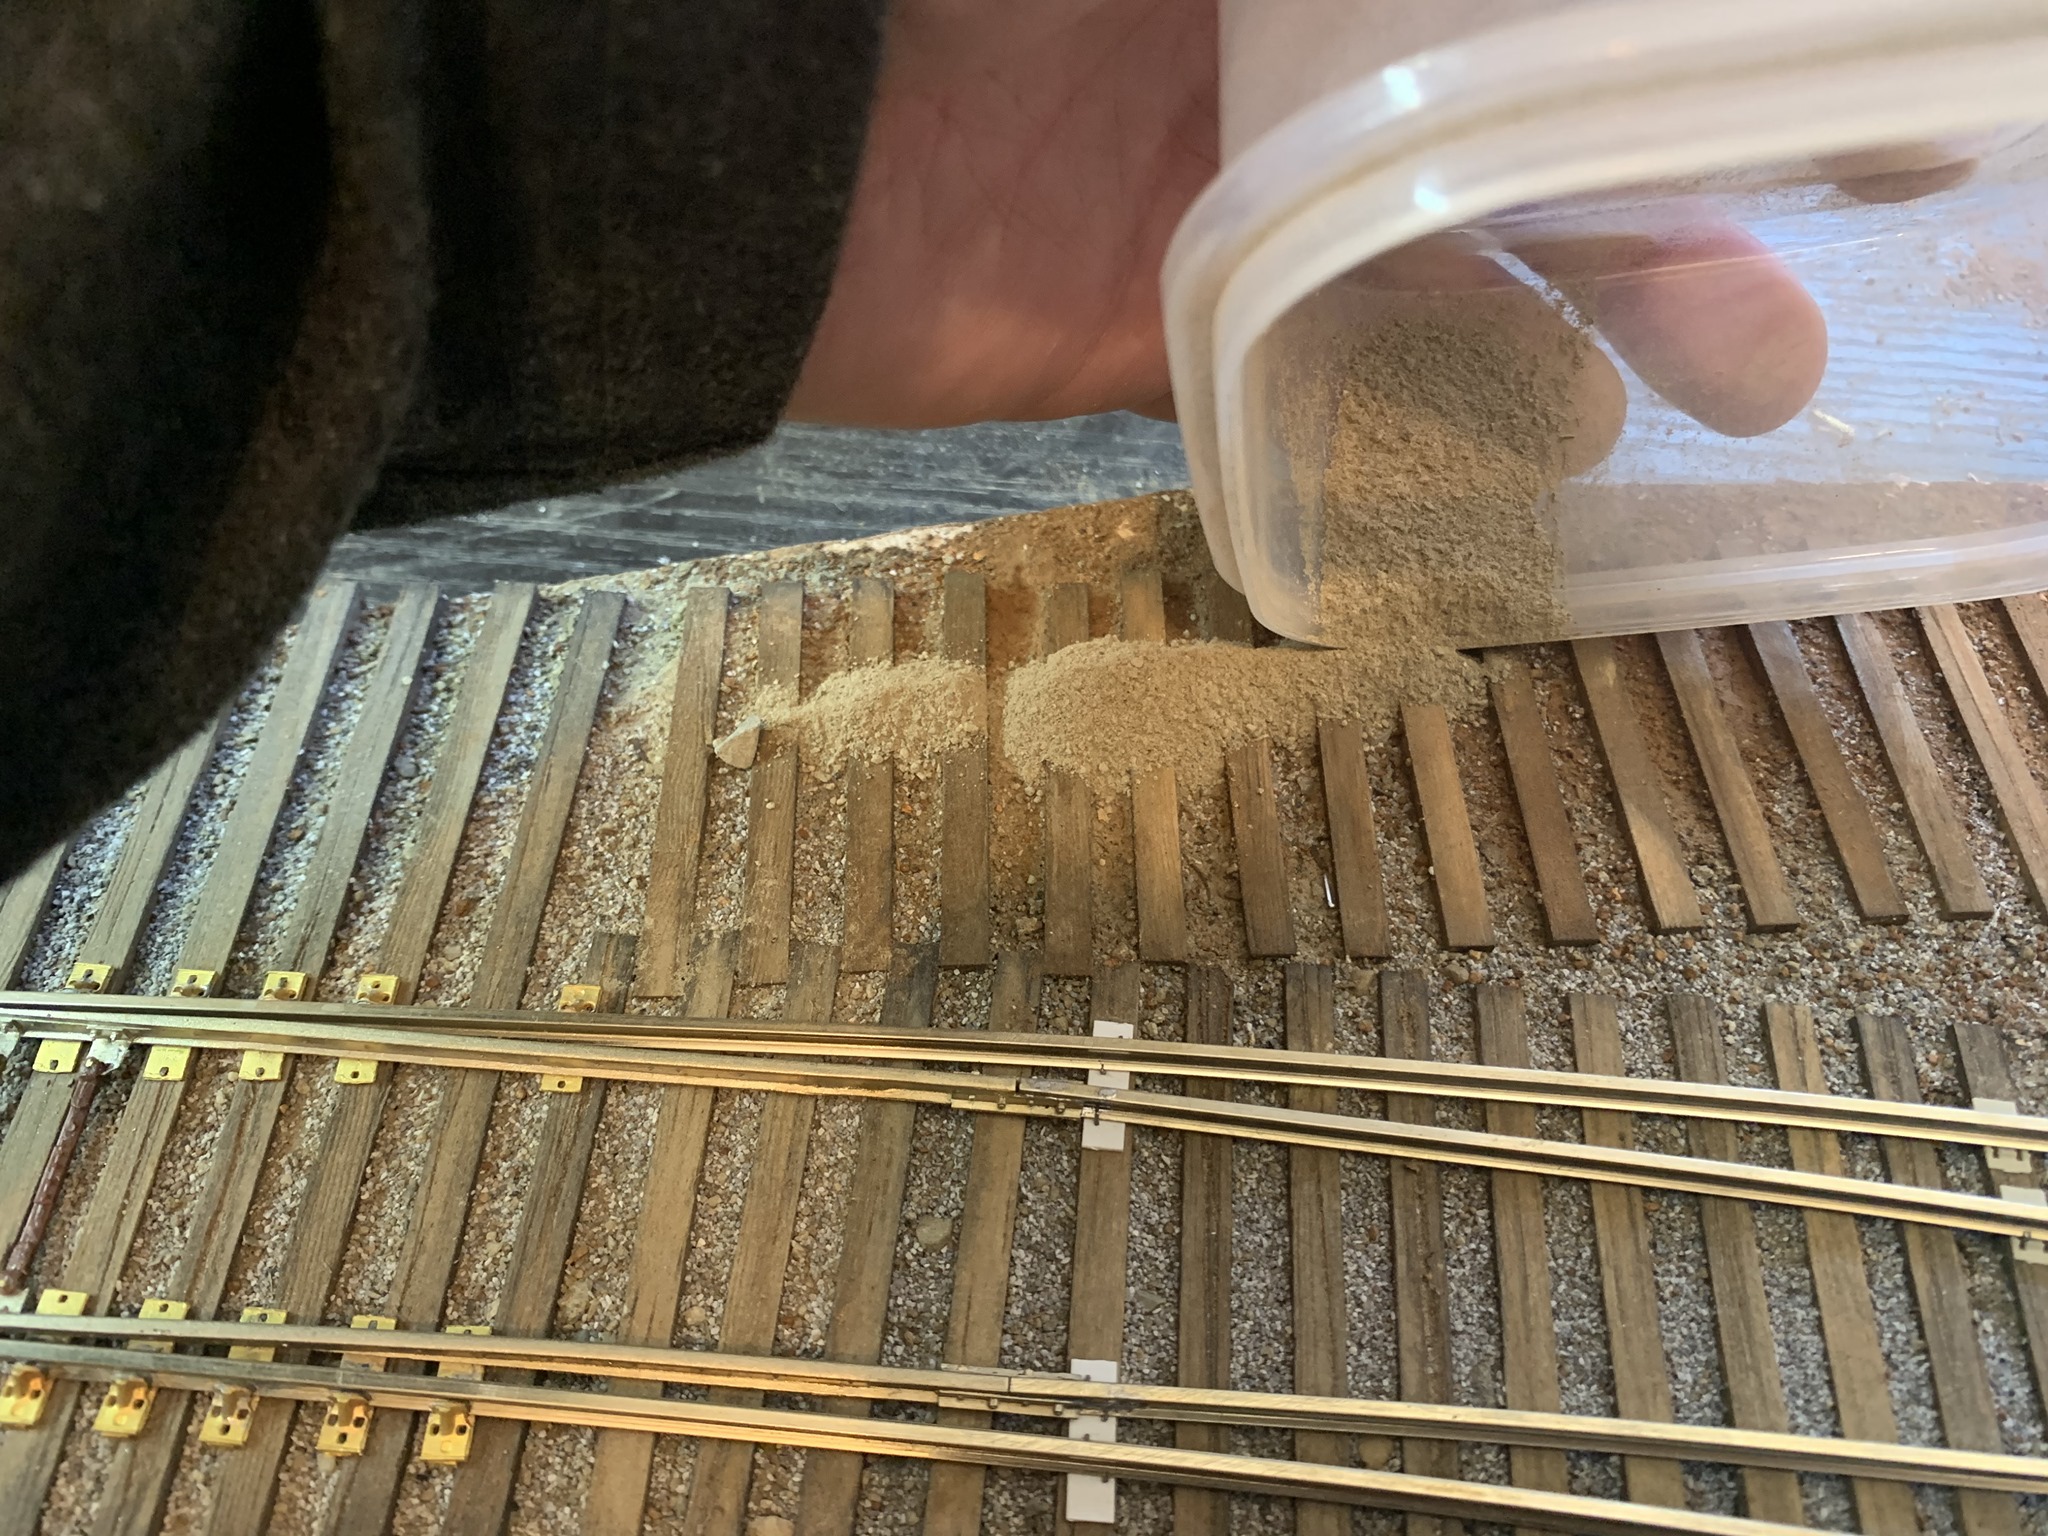
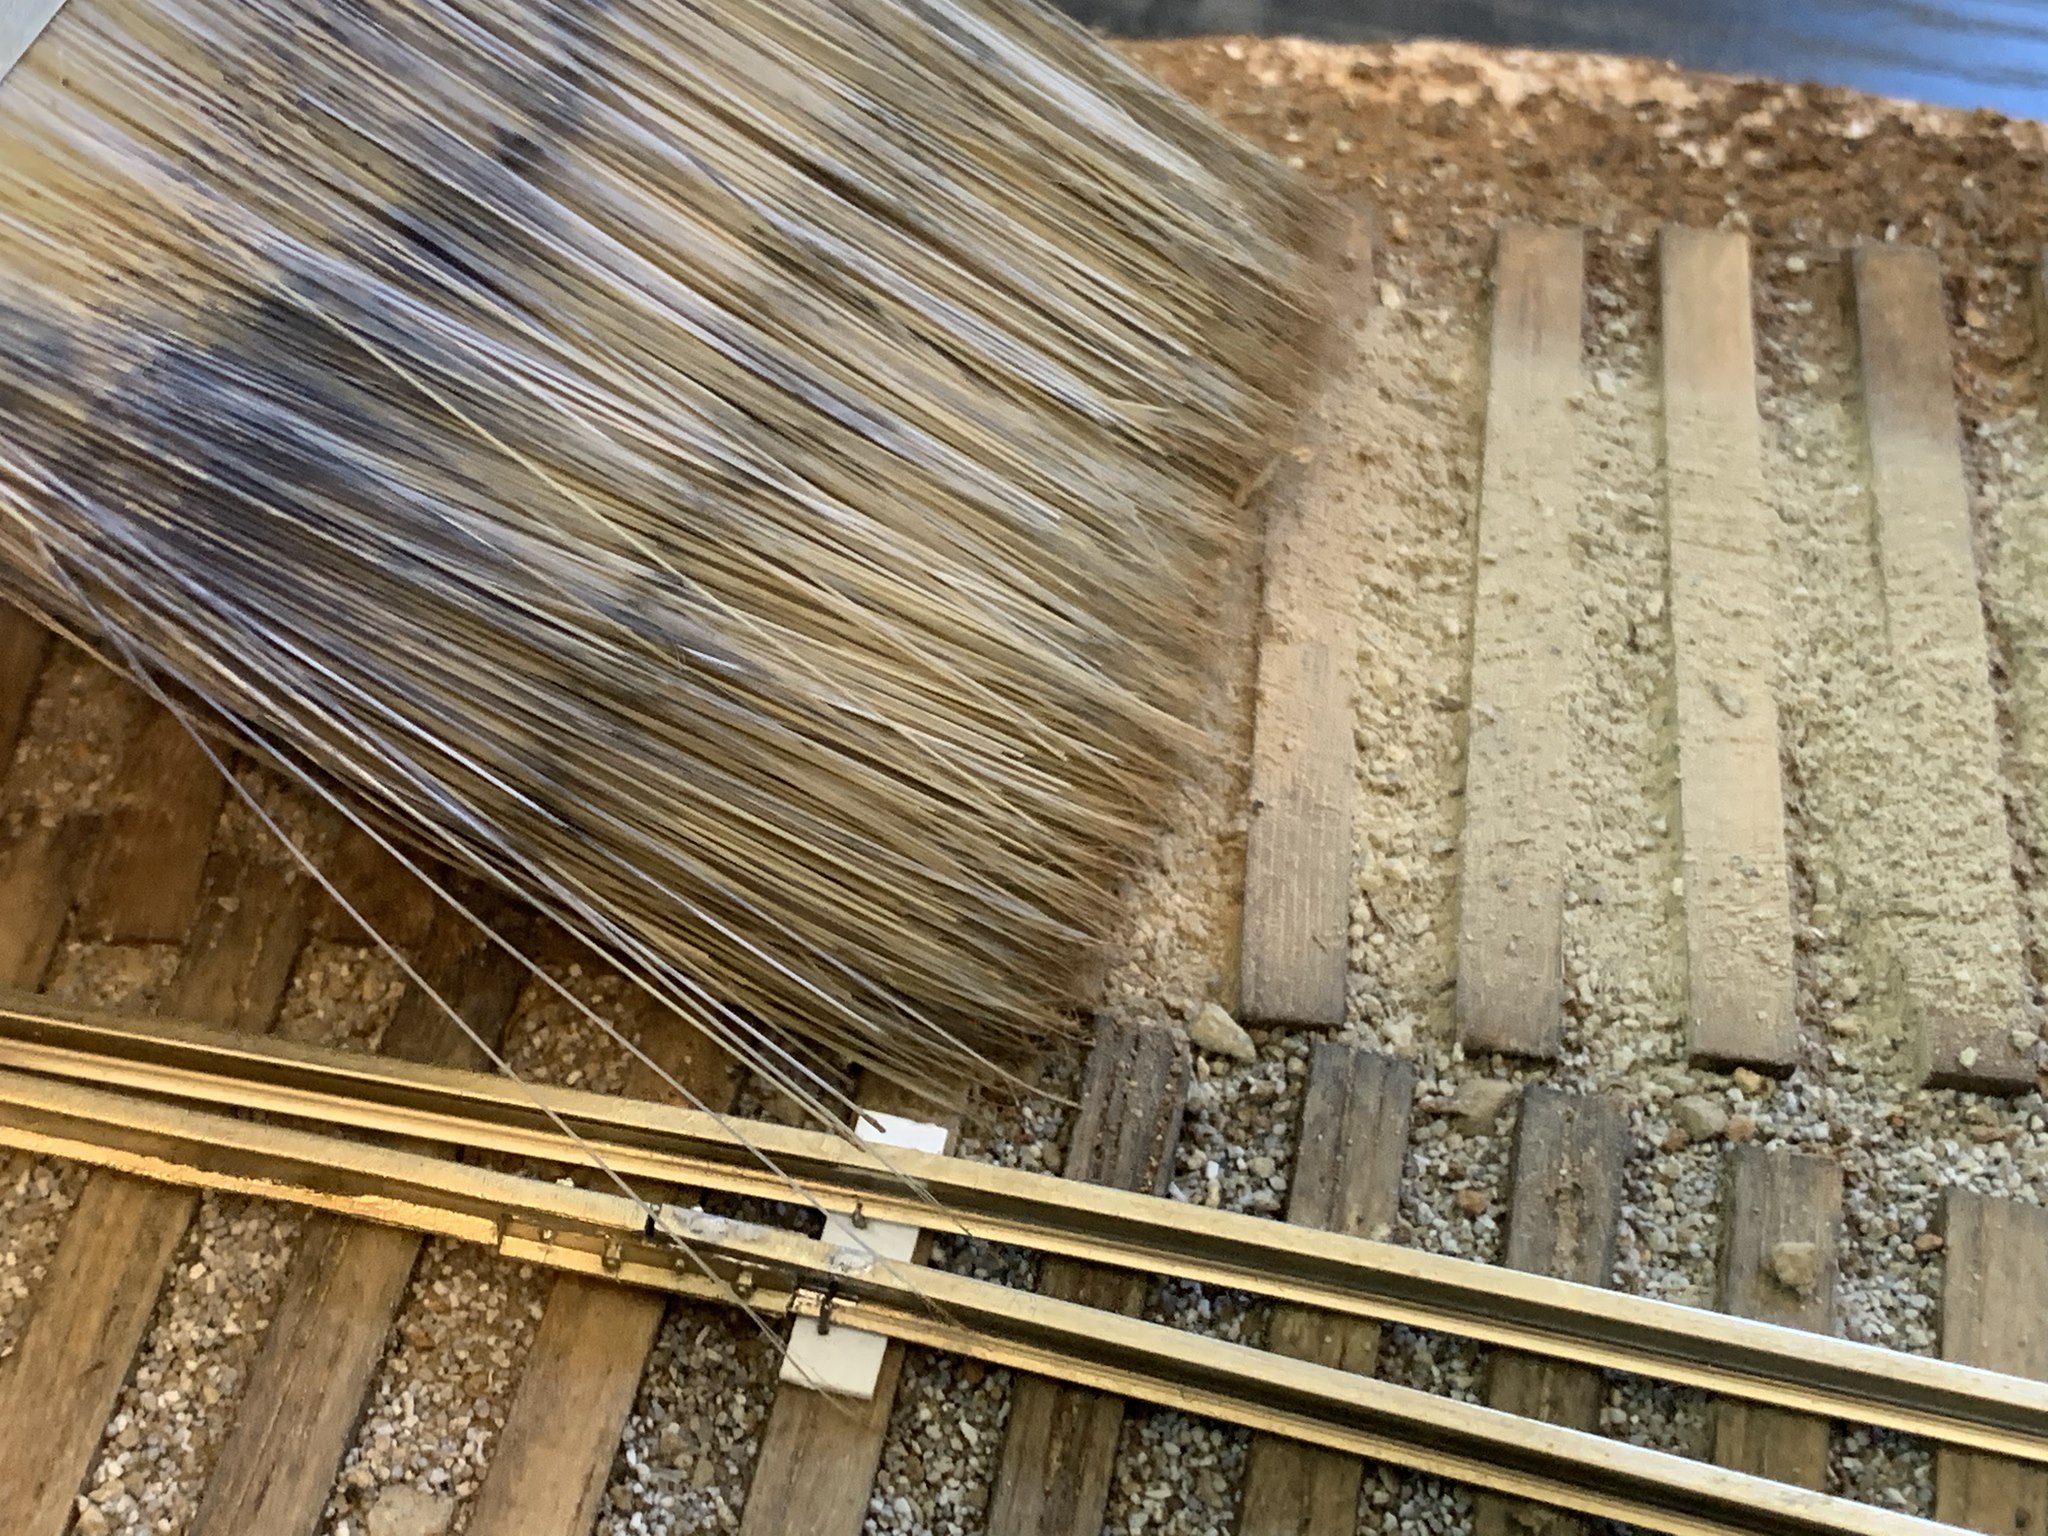
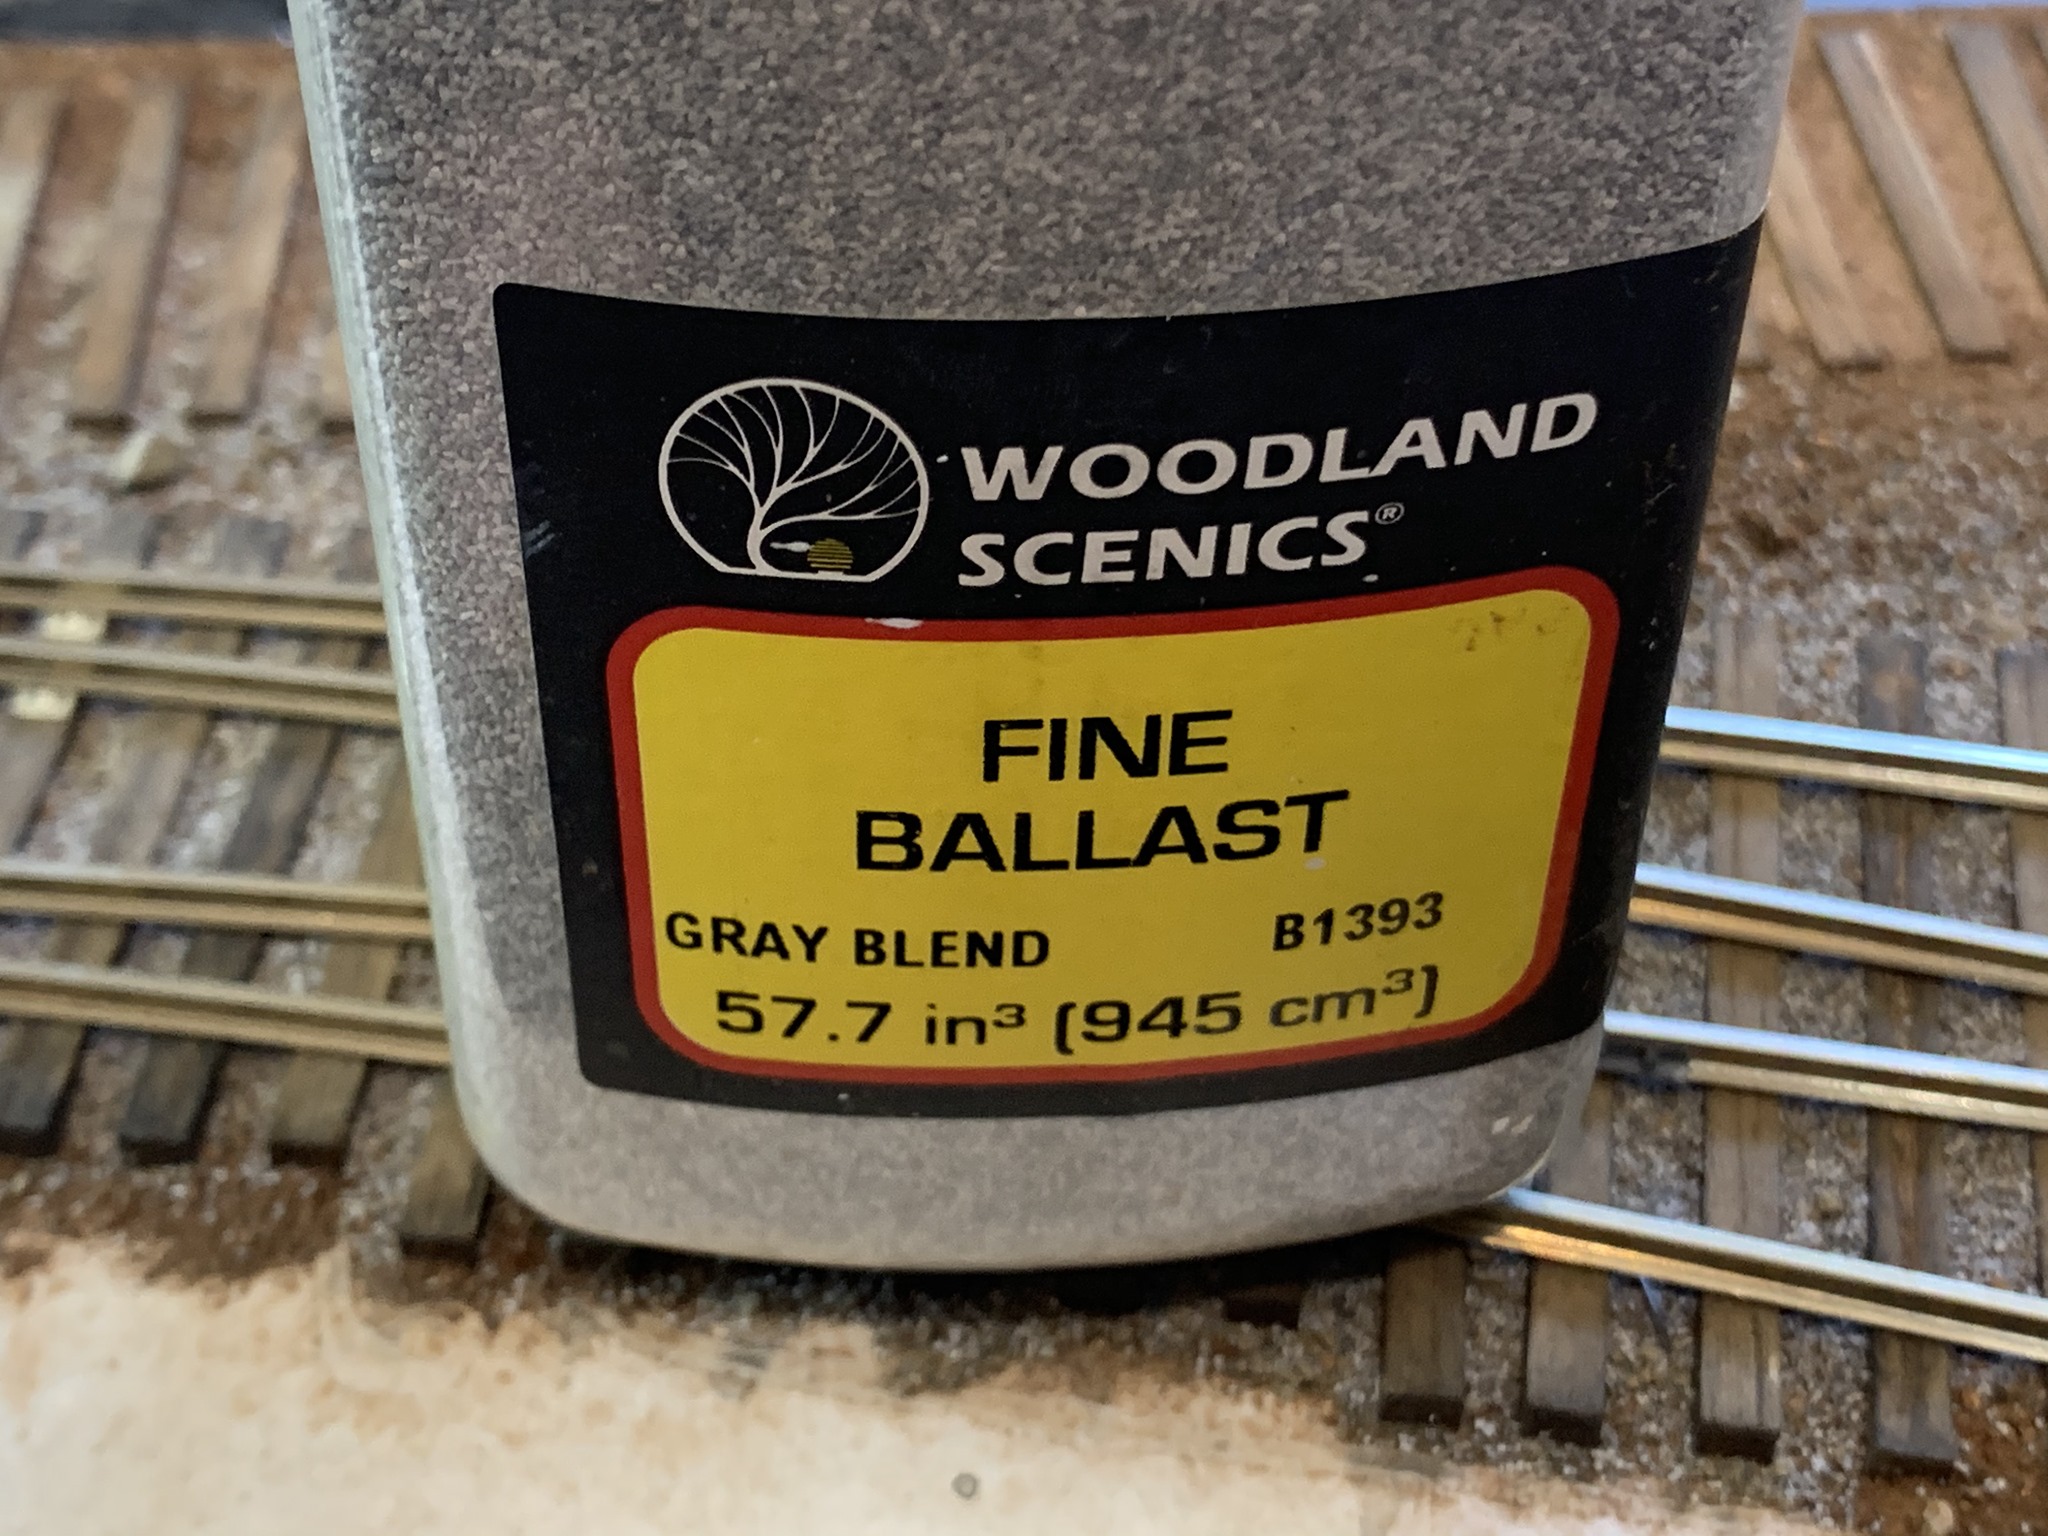
Pore the gravel onto the ties and using a large, two-inch brush work it into the ties. Larger rocks can be removed if desired. Then use commercial ballast, in this case Woodland Scenics Fine Ballast gray blend.
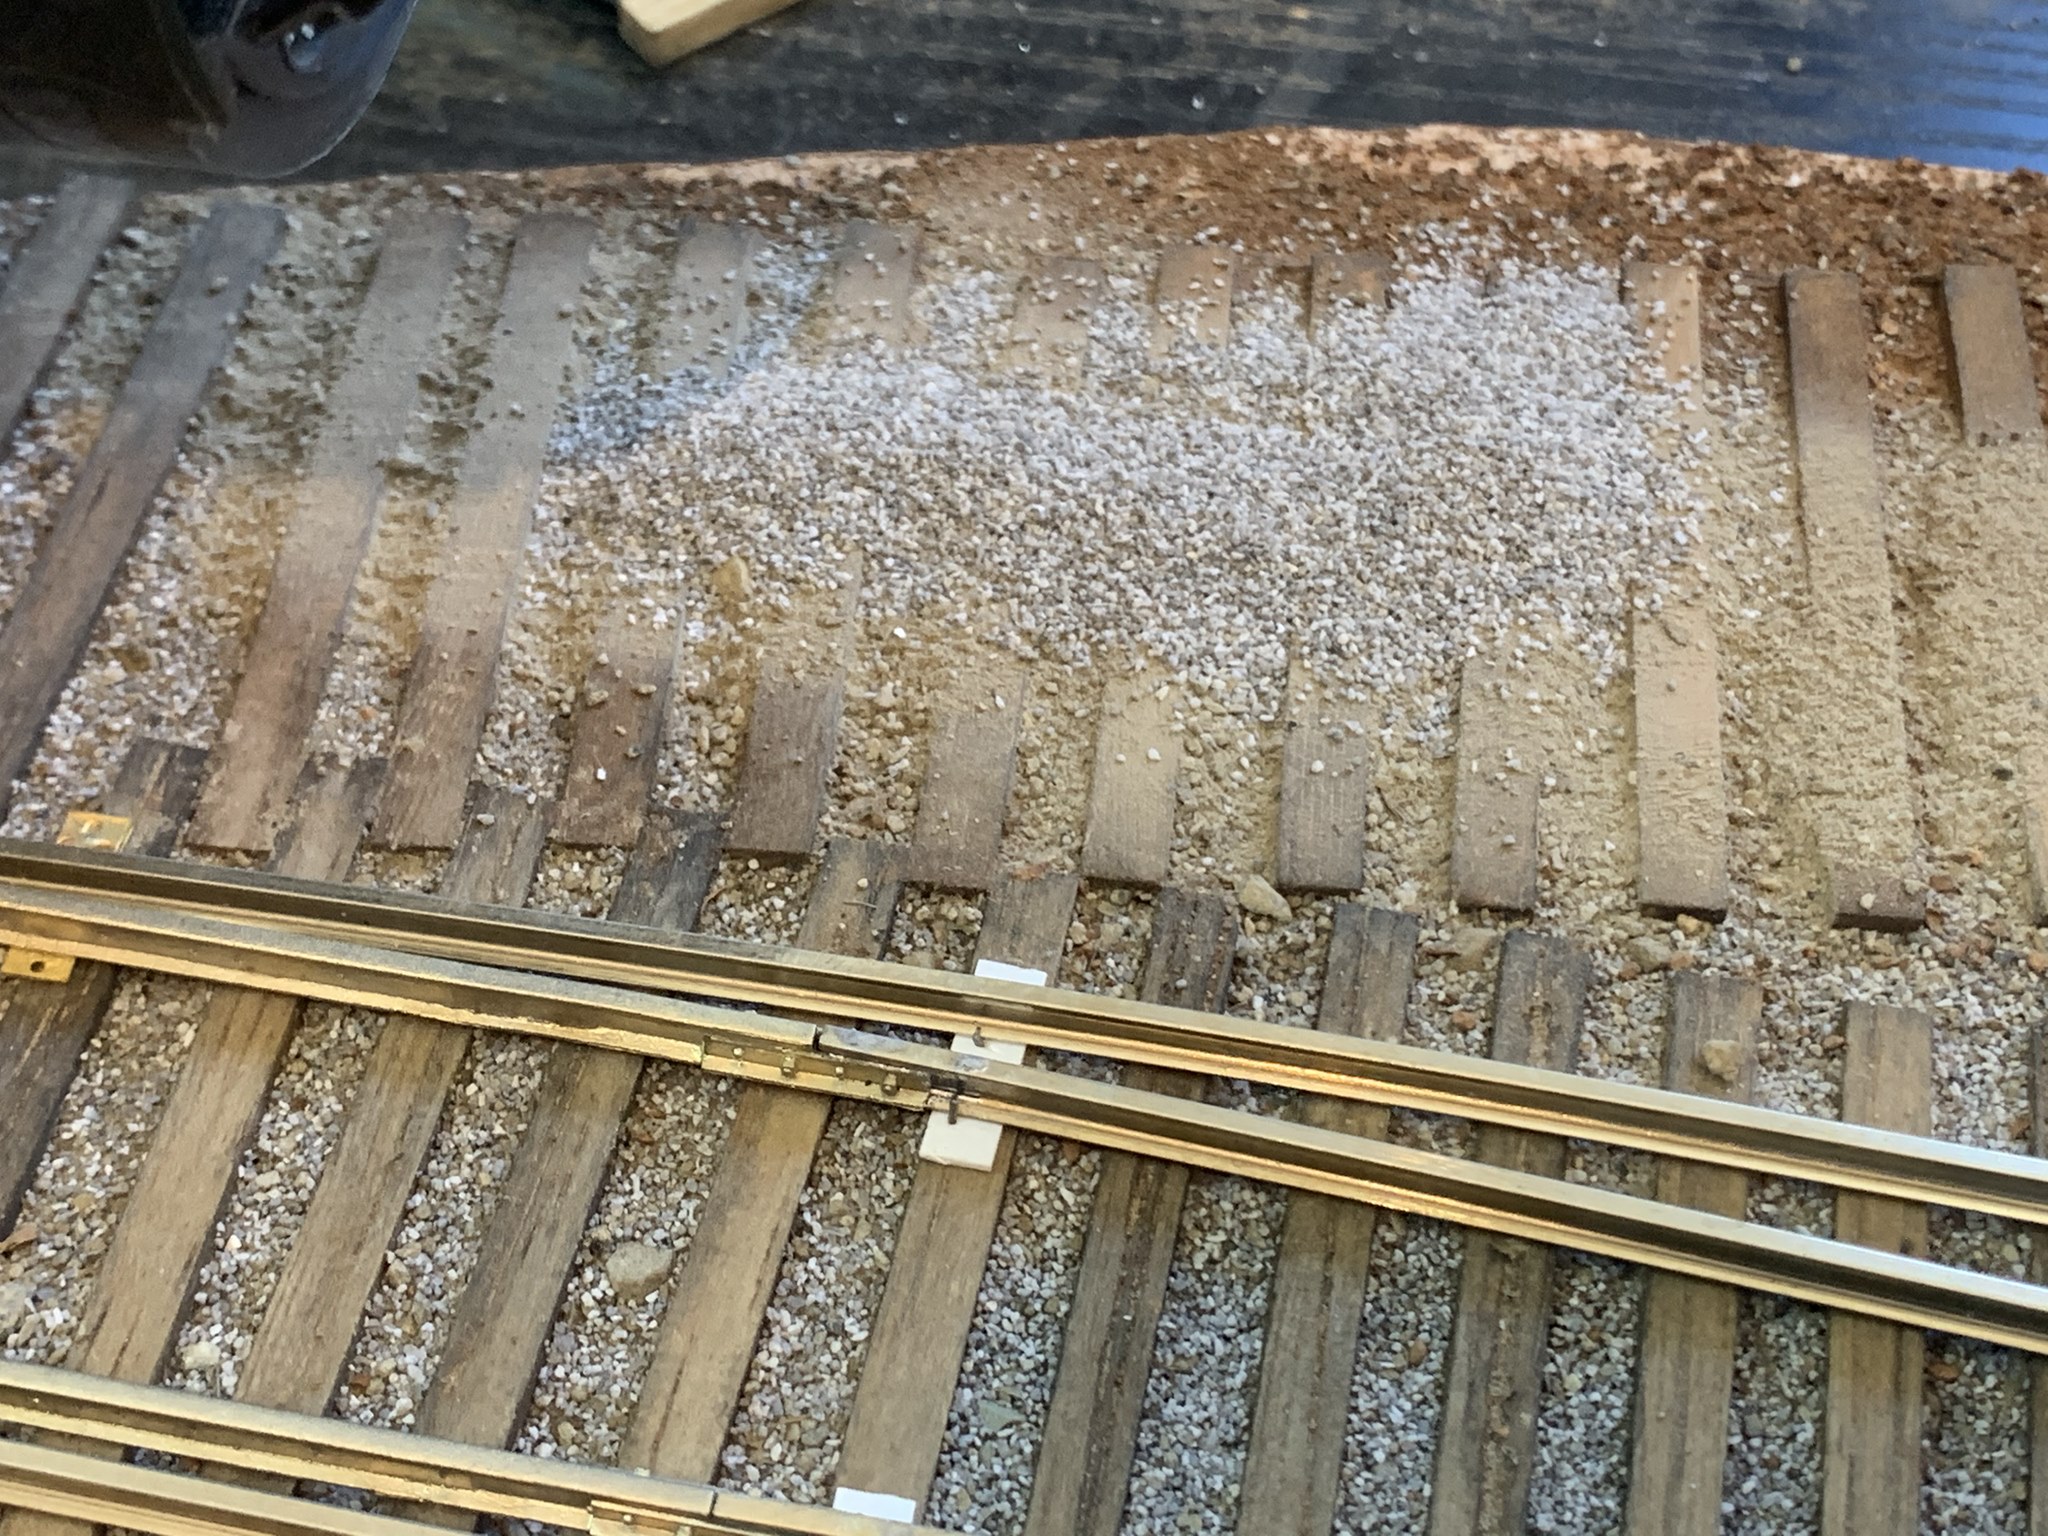
Once dry I add another light layer of dirt and then the sifted gravel is applied. Then, I add a layer of the Woodland Scenics ballast. Using a large brush, work the material in between the ties and will mix the dirt, gravel and ballast. Add more gravel and ballast as needed and mix again. Mixing is dine by dabbing the tip of the brush on the top of the ties and then sweeping ties clean with the brush.
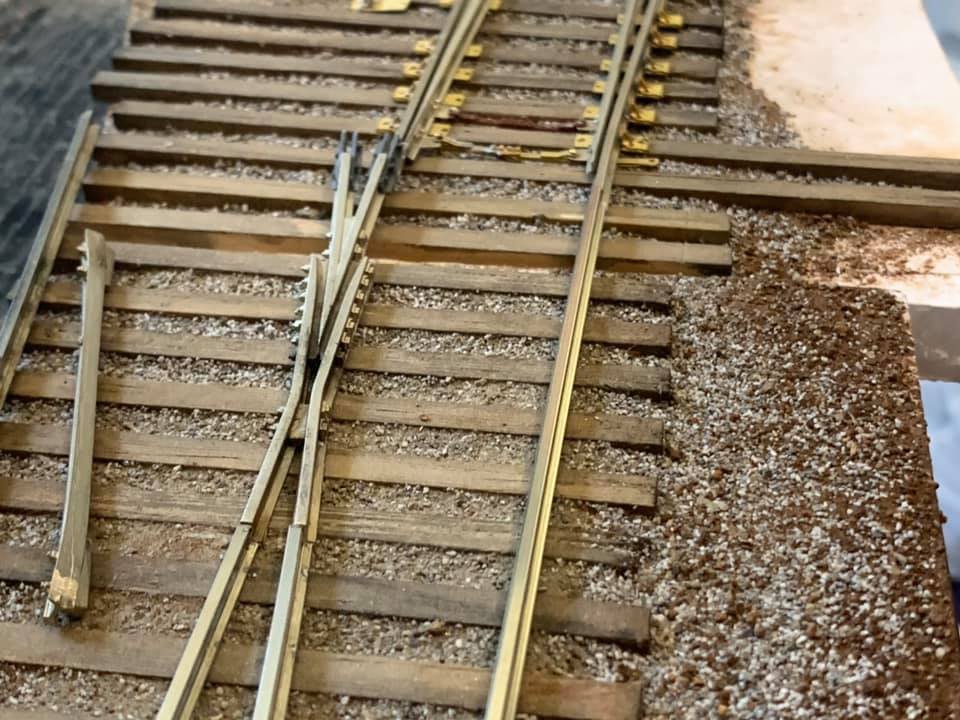
As you can see from the photos below, the roadbed is starting to look pretty good.

Nice look to the ballast. I am glad you selected a stone size appropriate for the application. Many modelers hope overboard on ballast size
Thank you Gene!
Shawn great job on the ballast. Thanks for the tutorial.
Jerry
Thank you Jerry!
Bran,
Nice technique and results!
Thank you!
This is a big help. I want to model the “CP< from Diamond Springs to the Camino mill.
That’s great! looking forward to hearing your results.
[…] a bit. After the dirt is dry I will follow it up with my ballast mix which you can read about here: Ballast for Low Maintained Track. I then spike some of the rails in place and then start working on the first […]
How are you gluing the ballast?
Hi Charles! I’m using my own mix of white glue and water with a bit of dishwater detergent.
Shawn, great article! Thanks for sharing this info.
I appreciate that Brad! Thank you.