I have to admit, although I have been working on this technique diligently for the past few months, I was still nervous. I didn’t want to mess up the work I have done so far. That said, I learned this technique allows you to correct mistakes quickly and easily, or completely remove and redo.

The Sub Roadbed
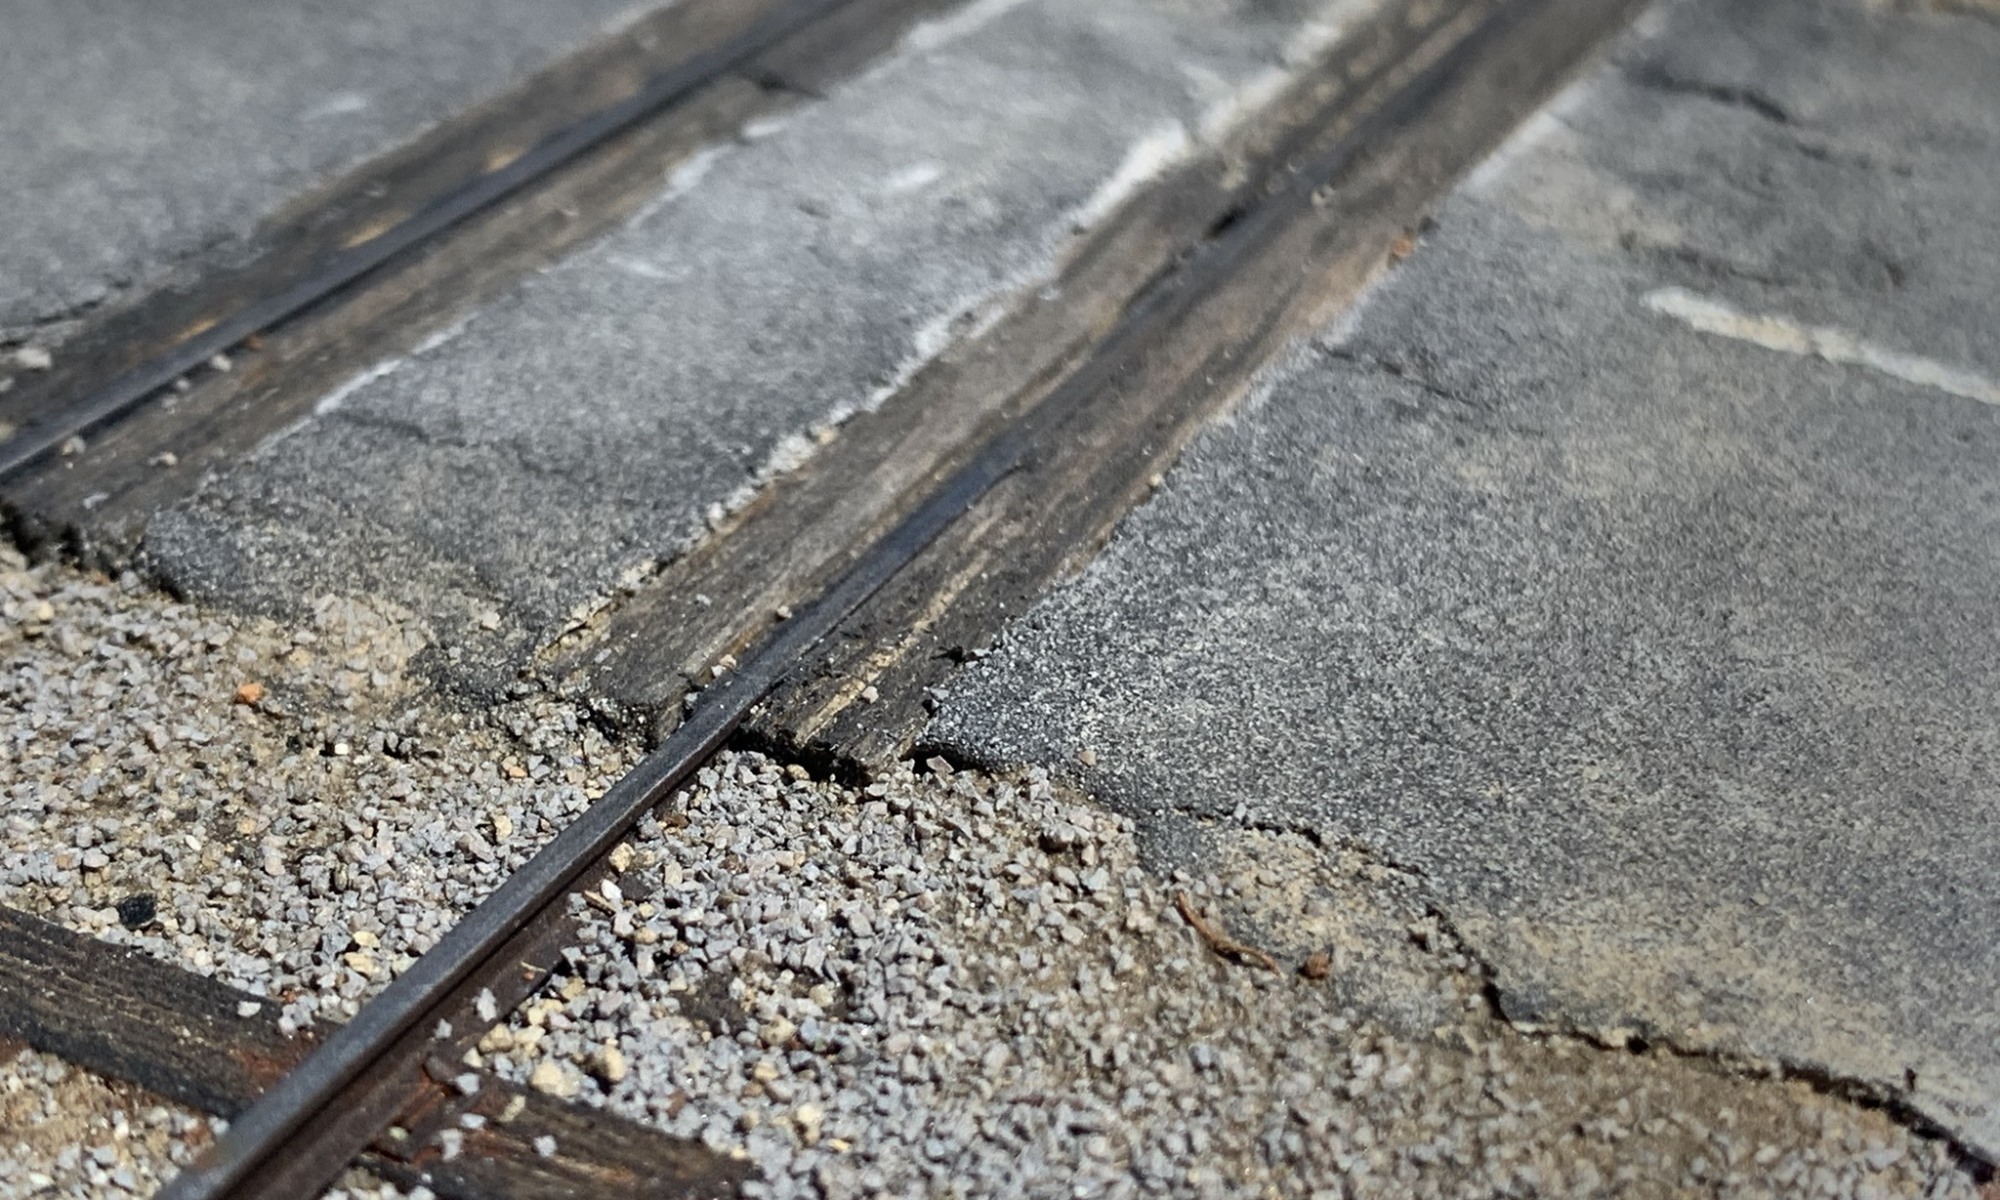
All roads have a sub roadbed usually consisting of small stone similar to ballast. Asphalt is then rolled into place over the stone and the roller softens the shoulder of the road making the transition easier on car suspensions. When we look at a cross-section of a typical road you will find that the road is slightly higher in the center. This allows water to drain properly and not sit on the surface.
For the model, Foamcore is cut to the length of the road but slightly narrower than the width. I then split the Foamcore into two halves exposing the foam.


Several early attempts mixing AK Interactive Asphalt and acrylic paint were made to tone down the texture and give the asphalt a sun-bleached look with little success.


Paving the Road
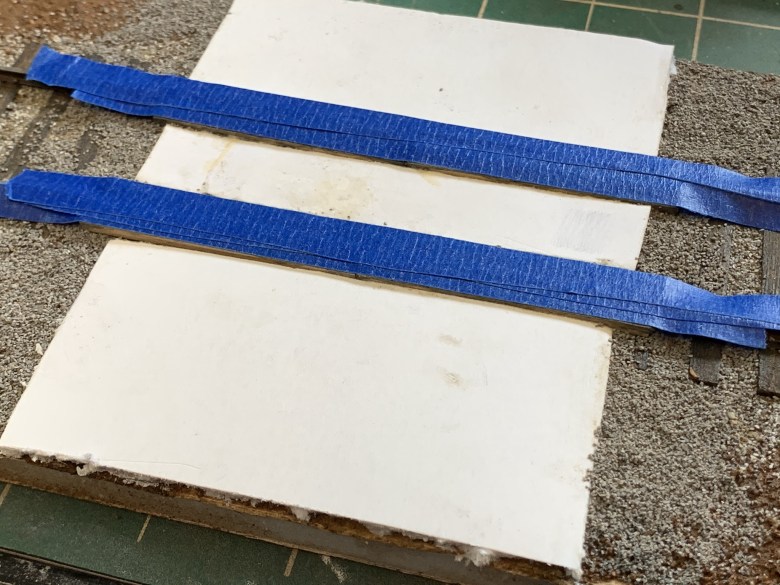
To begin, I mask the wood timbers with painters tape to make sure the asphalt does not get on the wood.
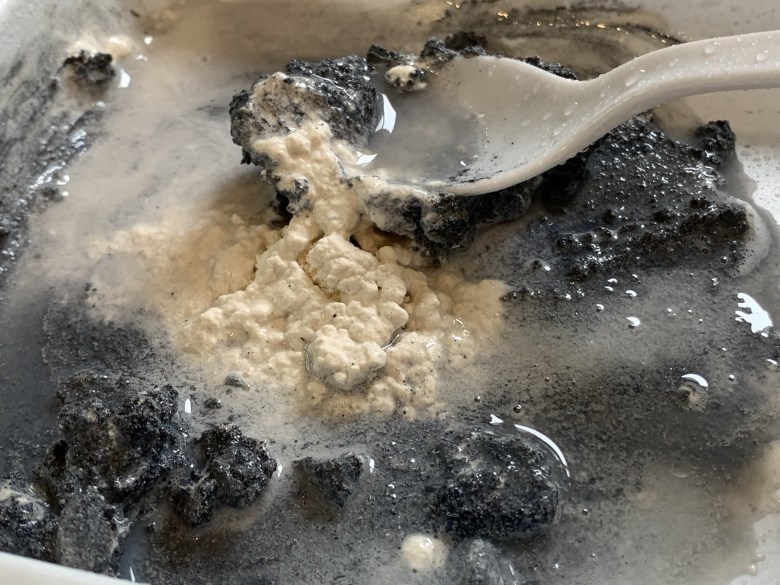
As mentioned, AK Interactive Asphalt and plaster are the primary ingredients of my asphalt. I place a scoop of the acrylic paint into a plastic tray and begin to add plaster to the paint. A spray bottle with water is used to dilute the paint and mix the plaster. I add approximately 1/4 parts plaster to 1 part Asphalt paint. I add a bit more water until the mix is the consistency of pancake batter and spread it on the Foamcore with a small trowel.


While I’m smoothing it with the trowel, I spay the entire road with the water bottle to help level and smooth the plaster. I use a hairdryer to speed the drying process to see how the asphalt is beginning to look. Before it dries, you will begin to notice if you have enough texture. Too much plaster and the texture will be too light. You can add more of the Asphalt paint to your existing mix and spread it over the drying first layer. Using the squirt bottle, continue spraying the road to make sure the road is level and smooth. Again, I use the hairdryer to speed up the drying process.


Before it dries completely, the mixture is a bit rubbery from the paint. Pressing into the Foamcore you can make divots and ruts in your road. To add even more wear effects, you can gently stretch the asphalt, creating cracks and broken pieces of road. If you make a mistake, use a paintbrush and dip it into the asphalt mix and paint over the mistake. The squirt bottle will help blend the mix into the road. Finally, before it dries completely, I will add some more asphalt paint to my tray and with a torn makeup sponge to dab diluted paint into some areas, darkening the color and adding a bit more “gravel” to the asphalt.


Once dry, I add an additional layer of the Fine Gray Ballast to soften the shoulder. To further blend the road into the shoulder, real roadside gravel is sifted through a screen leaving fine gravel and dust. I sprinkle it onto the sides of the road and brush it onto the asphalt and shoulder then glued it in place.
To finish the road, I mask the asphalt to add lines to the road. I use the other half of the makeup sponge to roughly paint the lines. In this case, I am trying to be sloppy to represent the paint peeling off the asphalt.

Weathering
As mentioned, AK Interactive Asphalt is an acrylic-based paint. Applying it as is would allow you to use oil-based paint to weather it. Because of the plaster mix, I have found that brushing or using a sponge with oils will damage the asphalt. With that in mind, I would recommend using an airbrush or acrylic washes to finish your road.
To represent oil and grease accumulation, I create a light wash with water and flat black acrylic paint also wetting the surface of the road. Again, using a makeup sponge I apply the wash to the roadway by dabbing the wash onto the wet road. you can use the black wash to add oil drippings with a small paintbrush and the black wash.
California roads can be fairly dusty so I finish everything off with the roadside sifted gravel. I use pantyhose to sift the gravel one more time leaving a nice gray “Powder”. I use a large brush to cover the entire roadway, shoulder and ballast. This will help tie the scene together and tone down any highlights in the scene.
Now I’m ready to try it out on the layout!

Thanks for sharng your techniques.
LikeLike
Really fantastic technique. Appreciate you taking the time to share your work and advice. Top notice modeling.
LikeLike
Most appreciated James! Thank you.
LikeLike
Shawn, I think this is one of your best efforts. I look forward to see it/them installed.
LikeLike
Thank you very much Jay!
LikeLike
Oops! How about seeing it.
LikeLike
Excellent article much appreciated
LikeLike
Thank you Joe!
LikeLike
Nicely done.
LikeLike
Came over from Insta.
This looks amazing and a really good tutorial.
Thanks.
Mike
LikeLiked by 1 person
Welcome Mike. Very nice to meet you! – Shawn
LikeLike